Introduction to DIY Painting & Pressure Washing
Home improvement projects can be both exciting and daunting, especially for beginners. In Murphy, North Carolina, where picturesque landscapes meet charming homes, maintaining the aesthetic appeal of your property is crucial. If you're a homeowner looking to refresh your home’s exterior or interior, understanding the basics of DIY painting and pressure washing can be highly beneficial.
This guide will walk you through beginner-friendly steps to start your painting and pressure washing projects, ensuring you achieve professional-looking results even if you're new to the process.
Essential Tools and Materials
Before diving into any project, having the right tools and materials is essential. Here’s a list to get you started:
Painting Tools
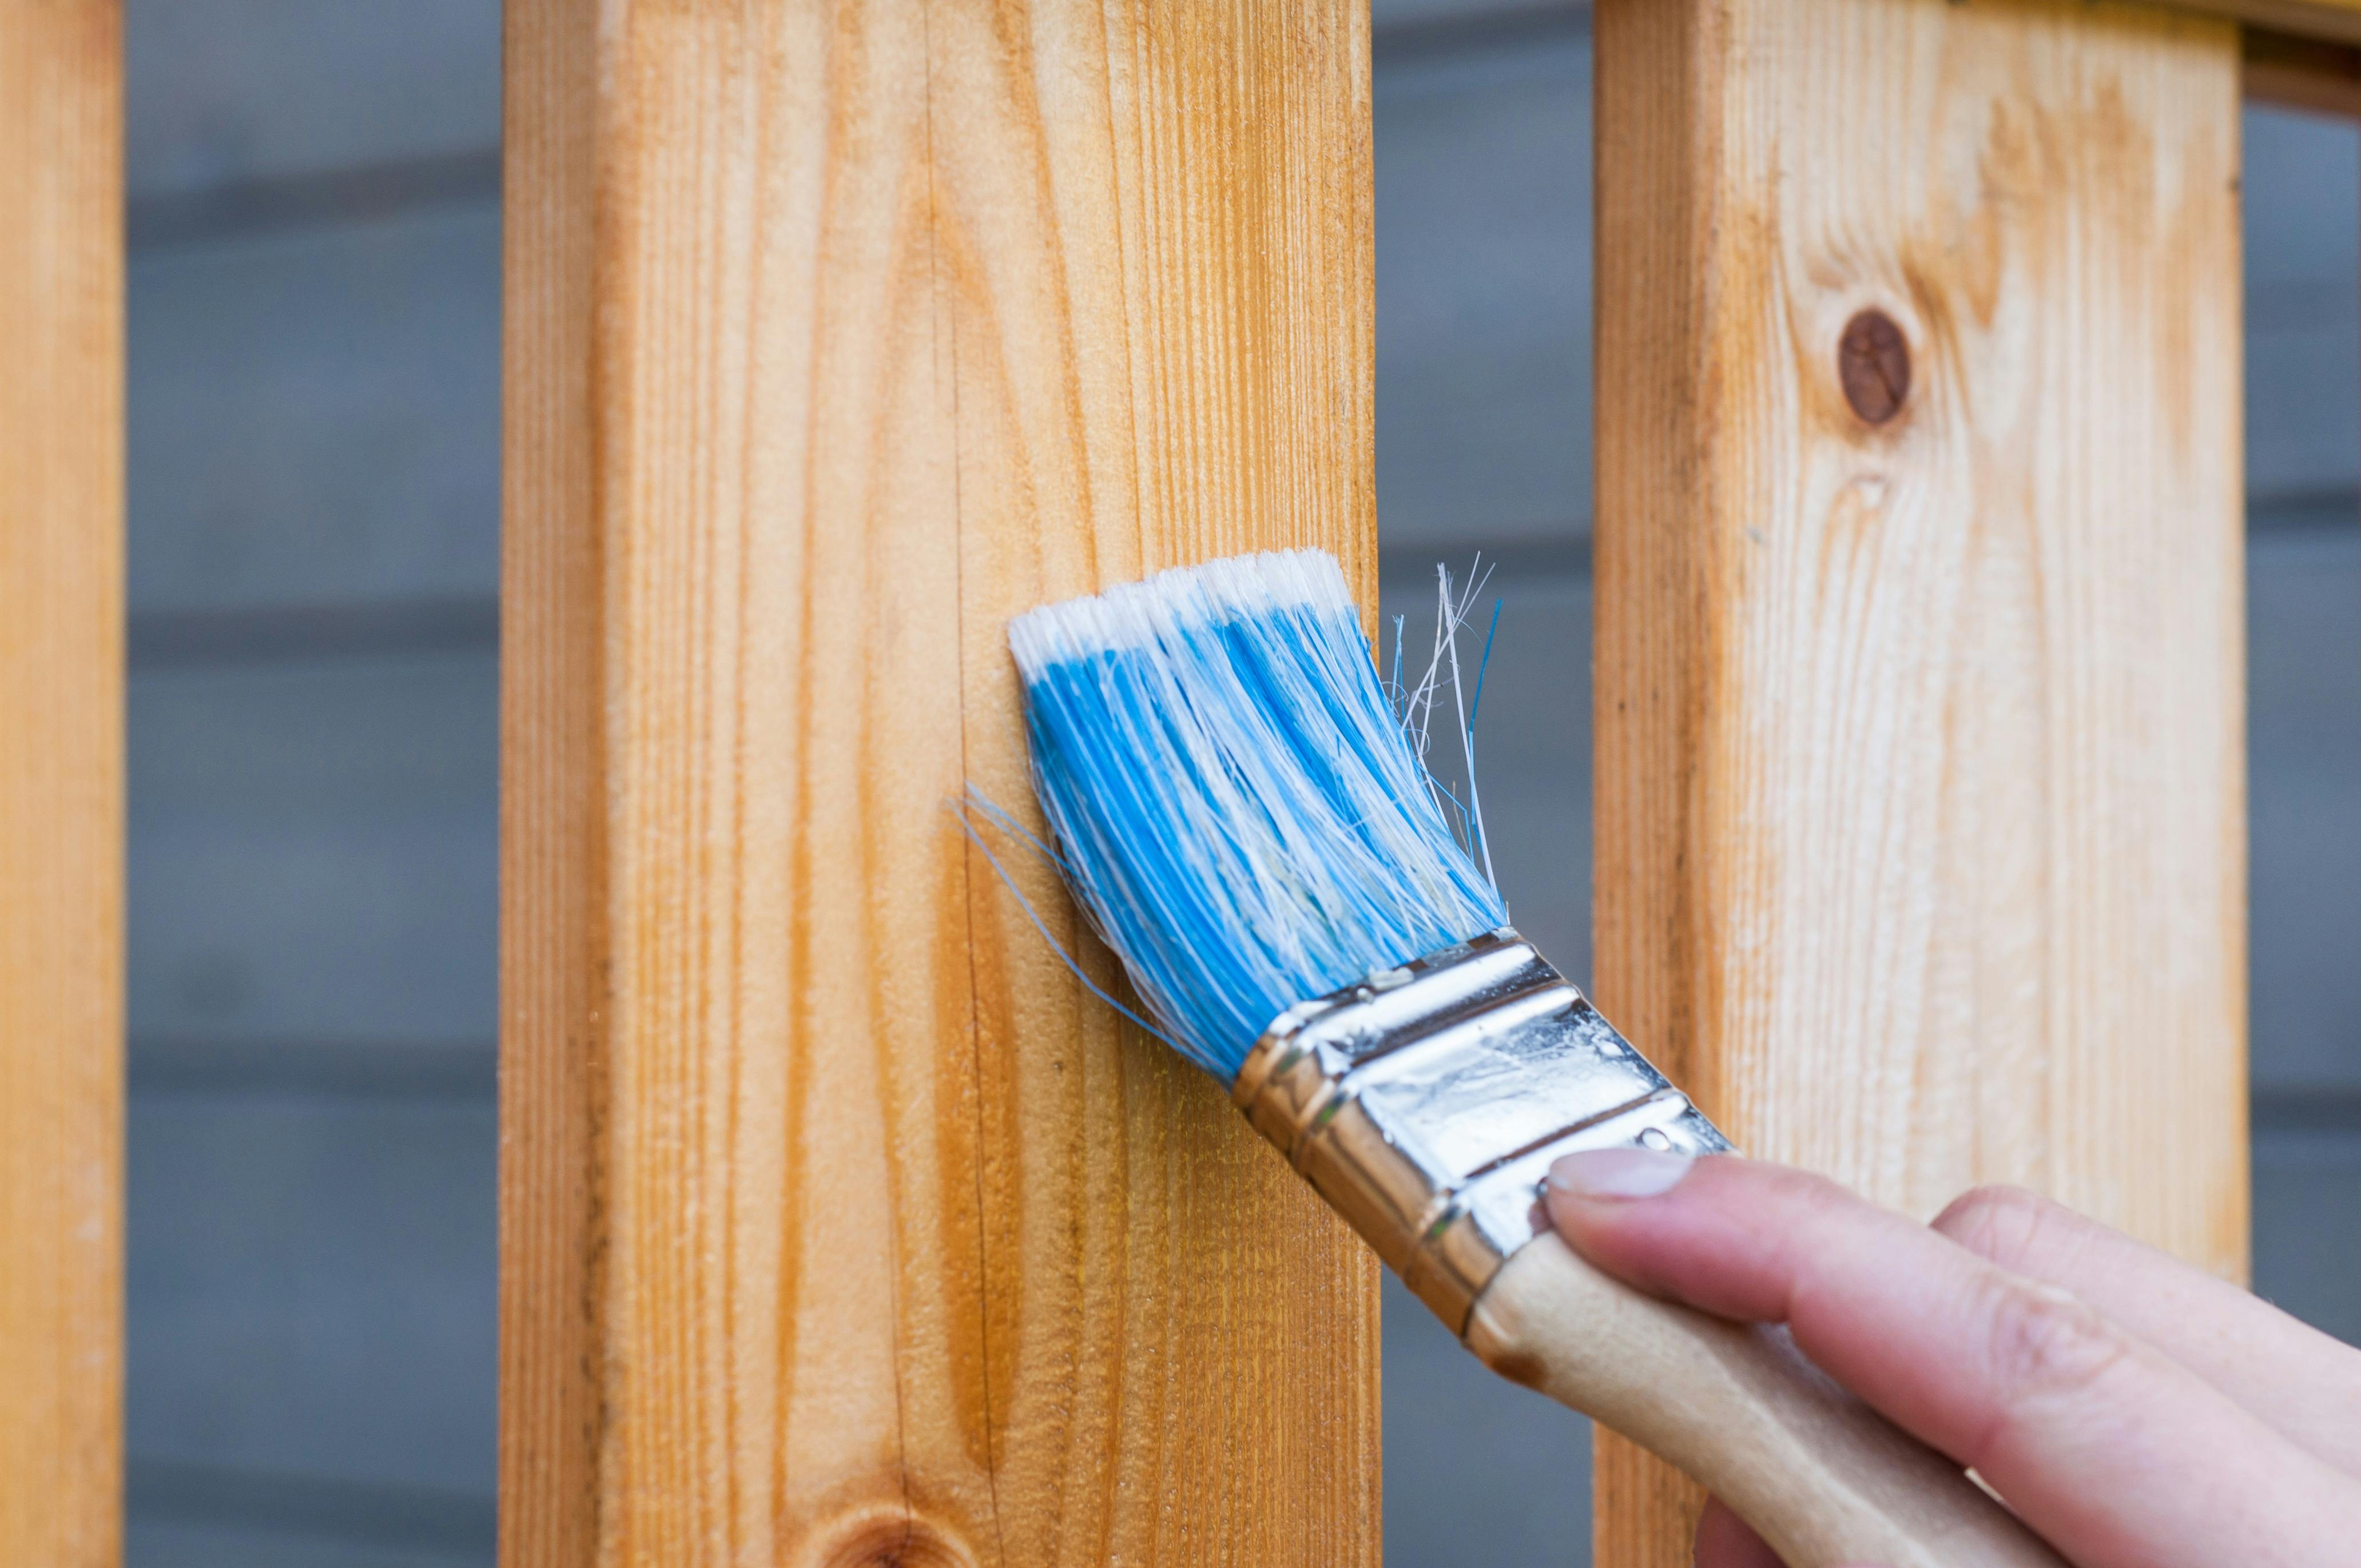
- Brushes and Rollers: Choose high-quality brushes for trim and rollers for larger surfaces.
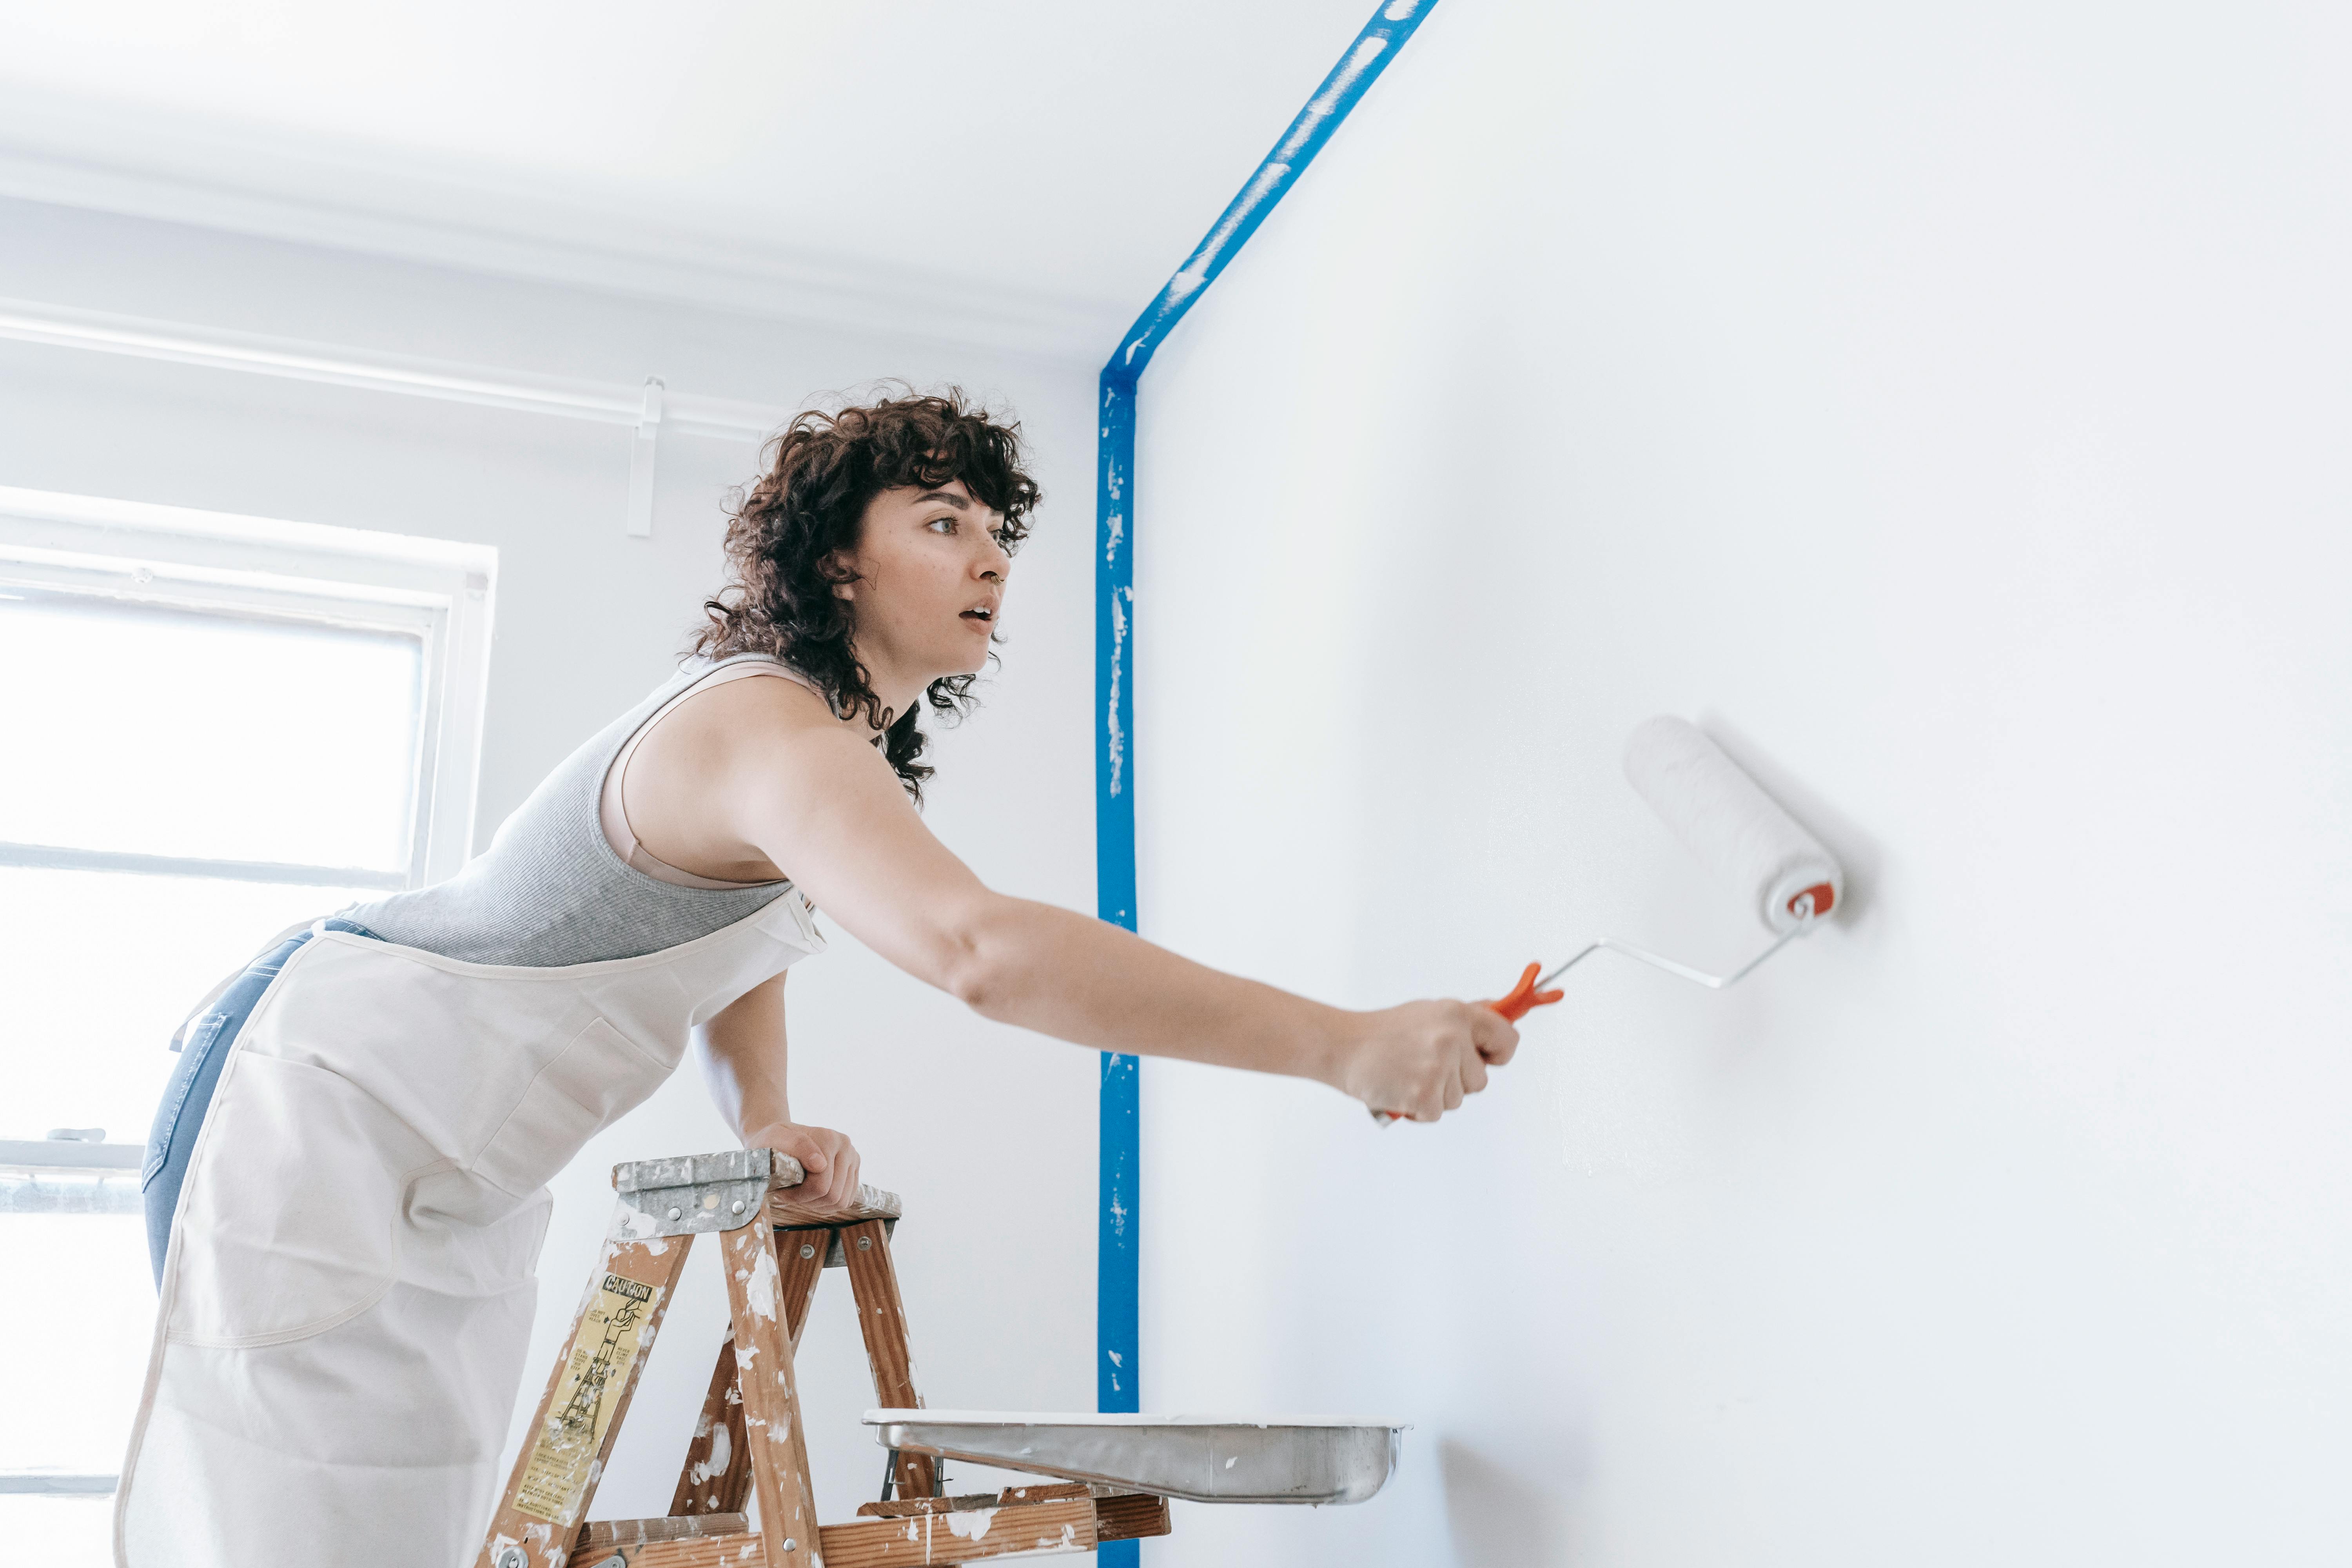
- Painter’s Tape: Essential for protecting trims, ceilings, and other areas you don't want to paint.
- Drop Cloths: Protect your floors and furniture from spills and drips.
- Paint Tray: Useful for holding and evenly distributing paint.
- Primer and Paint: Select a primer suitable for your surface and a high-quality paint that can withstand Murphy's weather conditions.
Pressure Washing Equipment
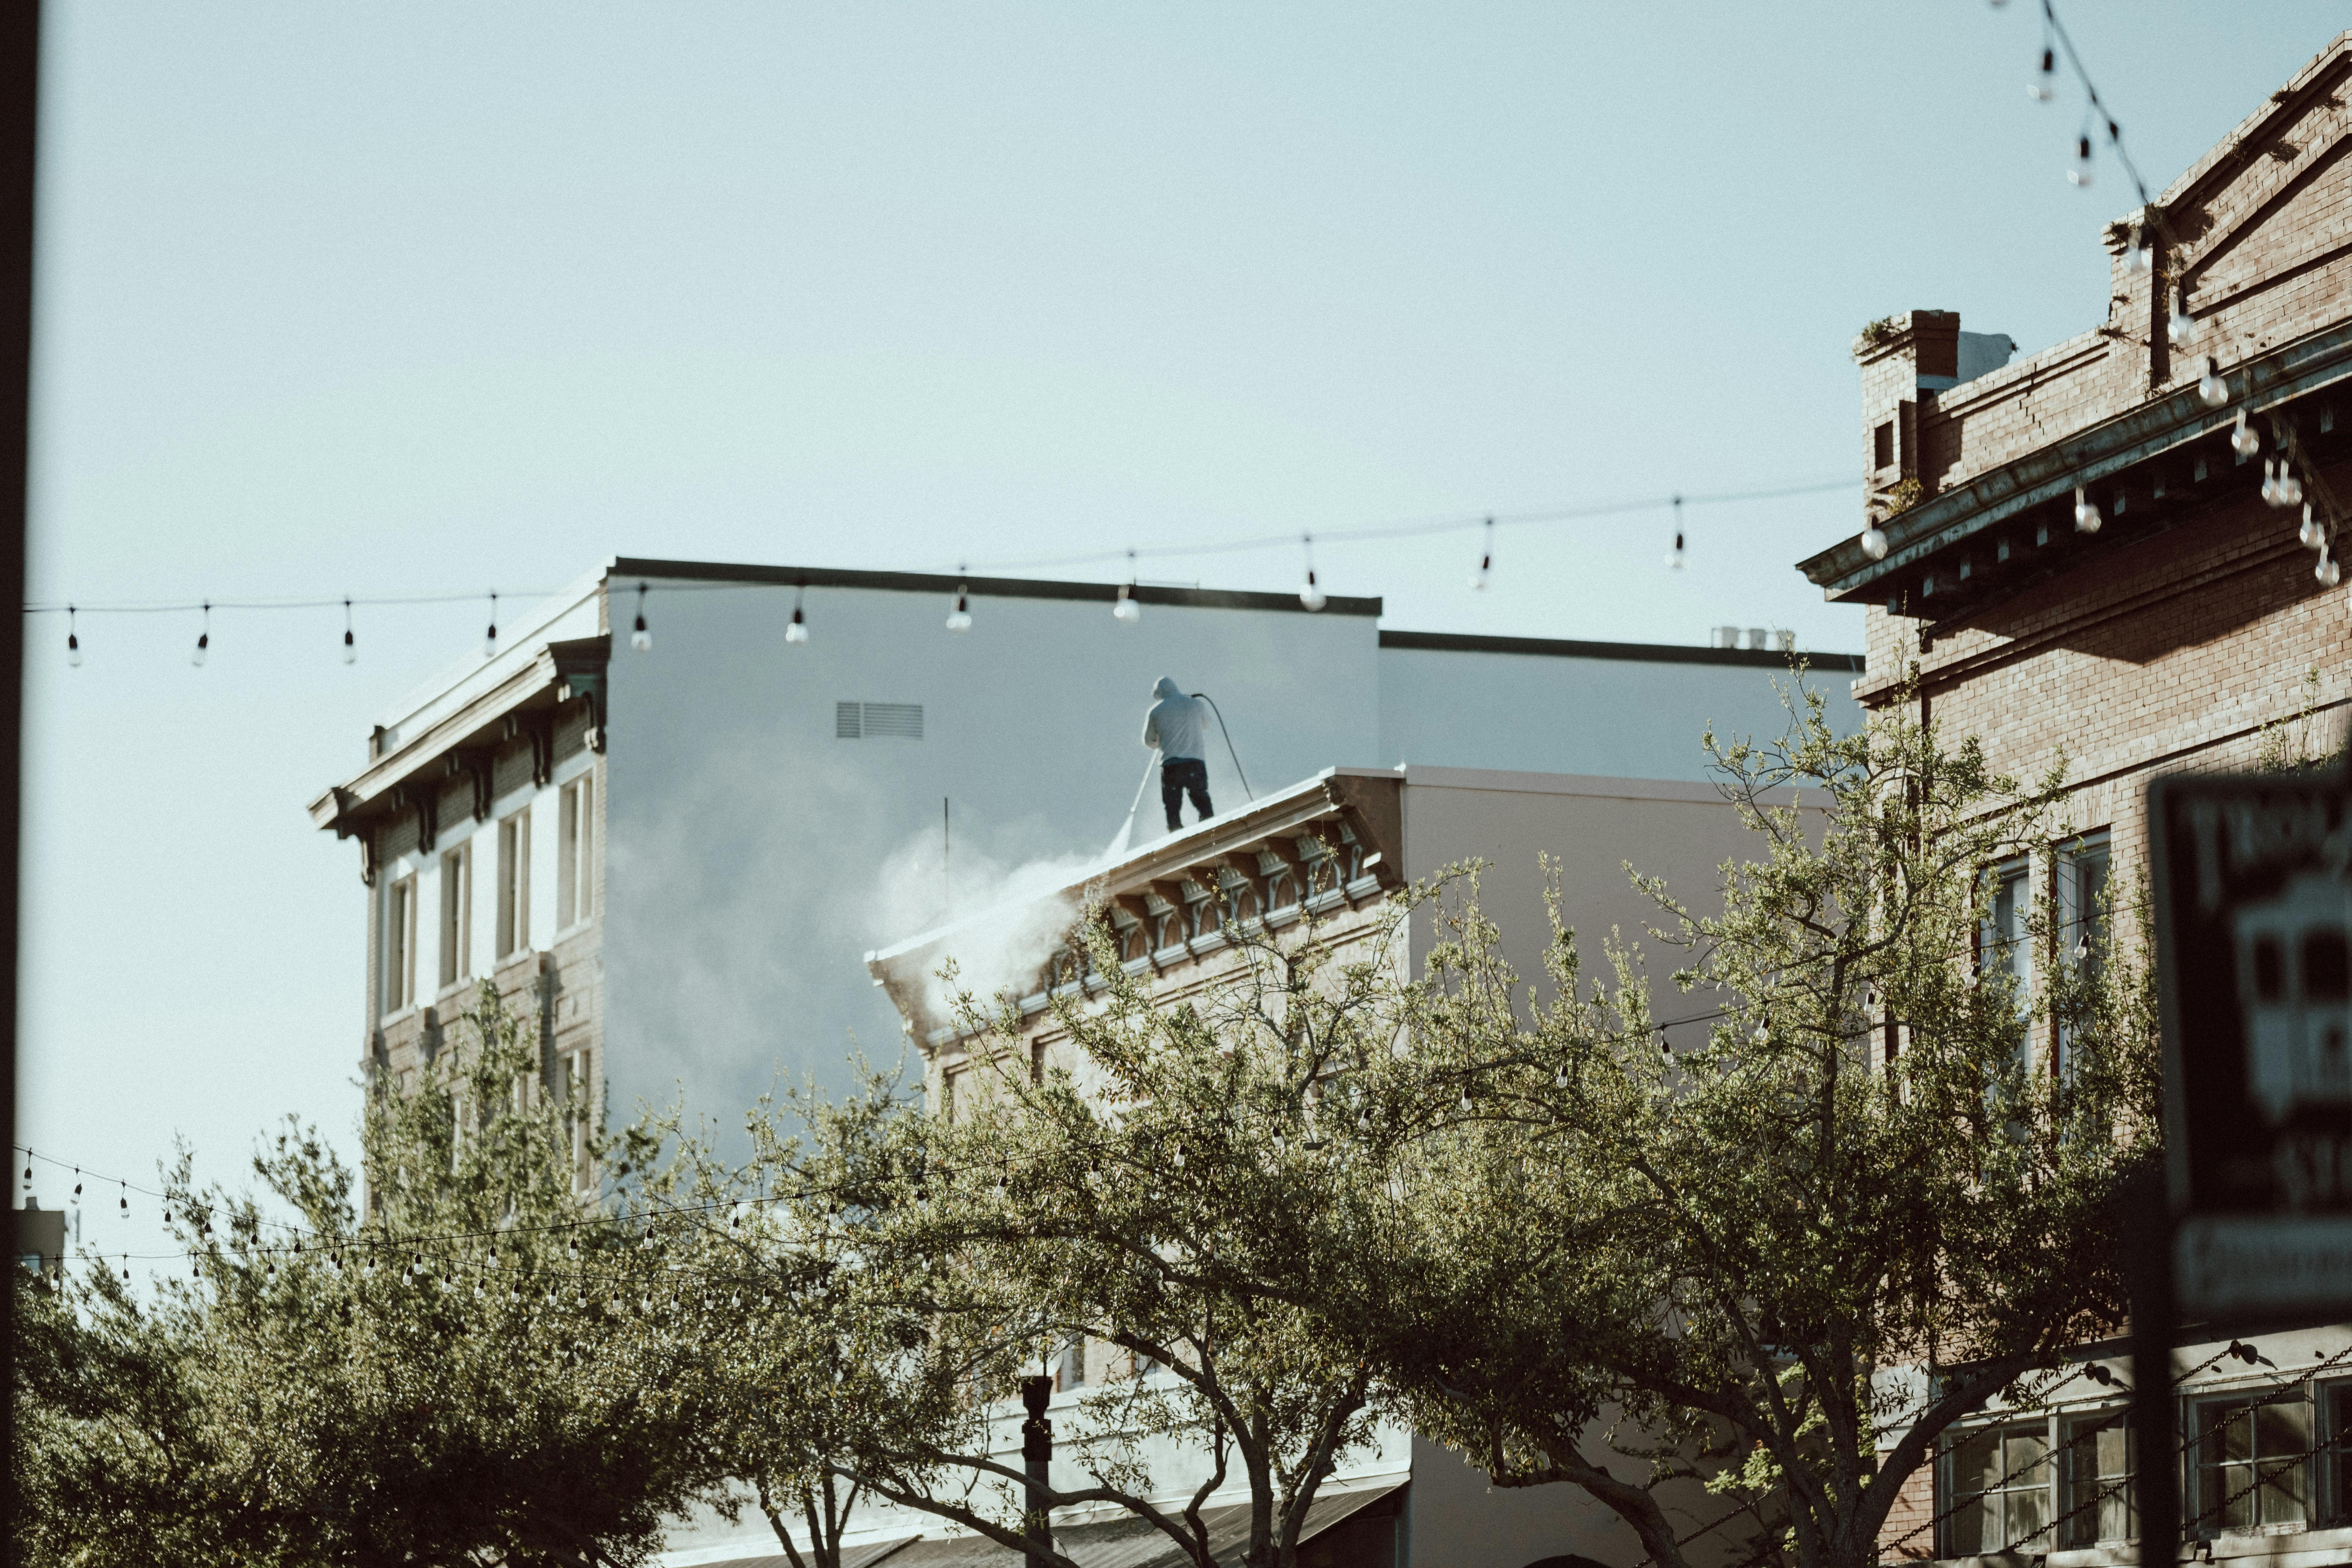
- Pressure Washer: A reliable machine suitable for your specific project, available in electric or gas models.
- Nozzles: Different nozzles for various pressure levels and spray patterns.
- Detergents: Use environmentally-friendly detergents safe for the surfaces you are cleaning.
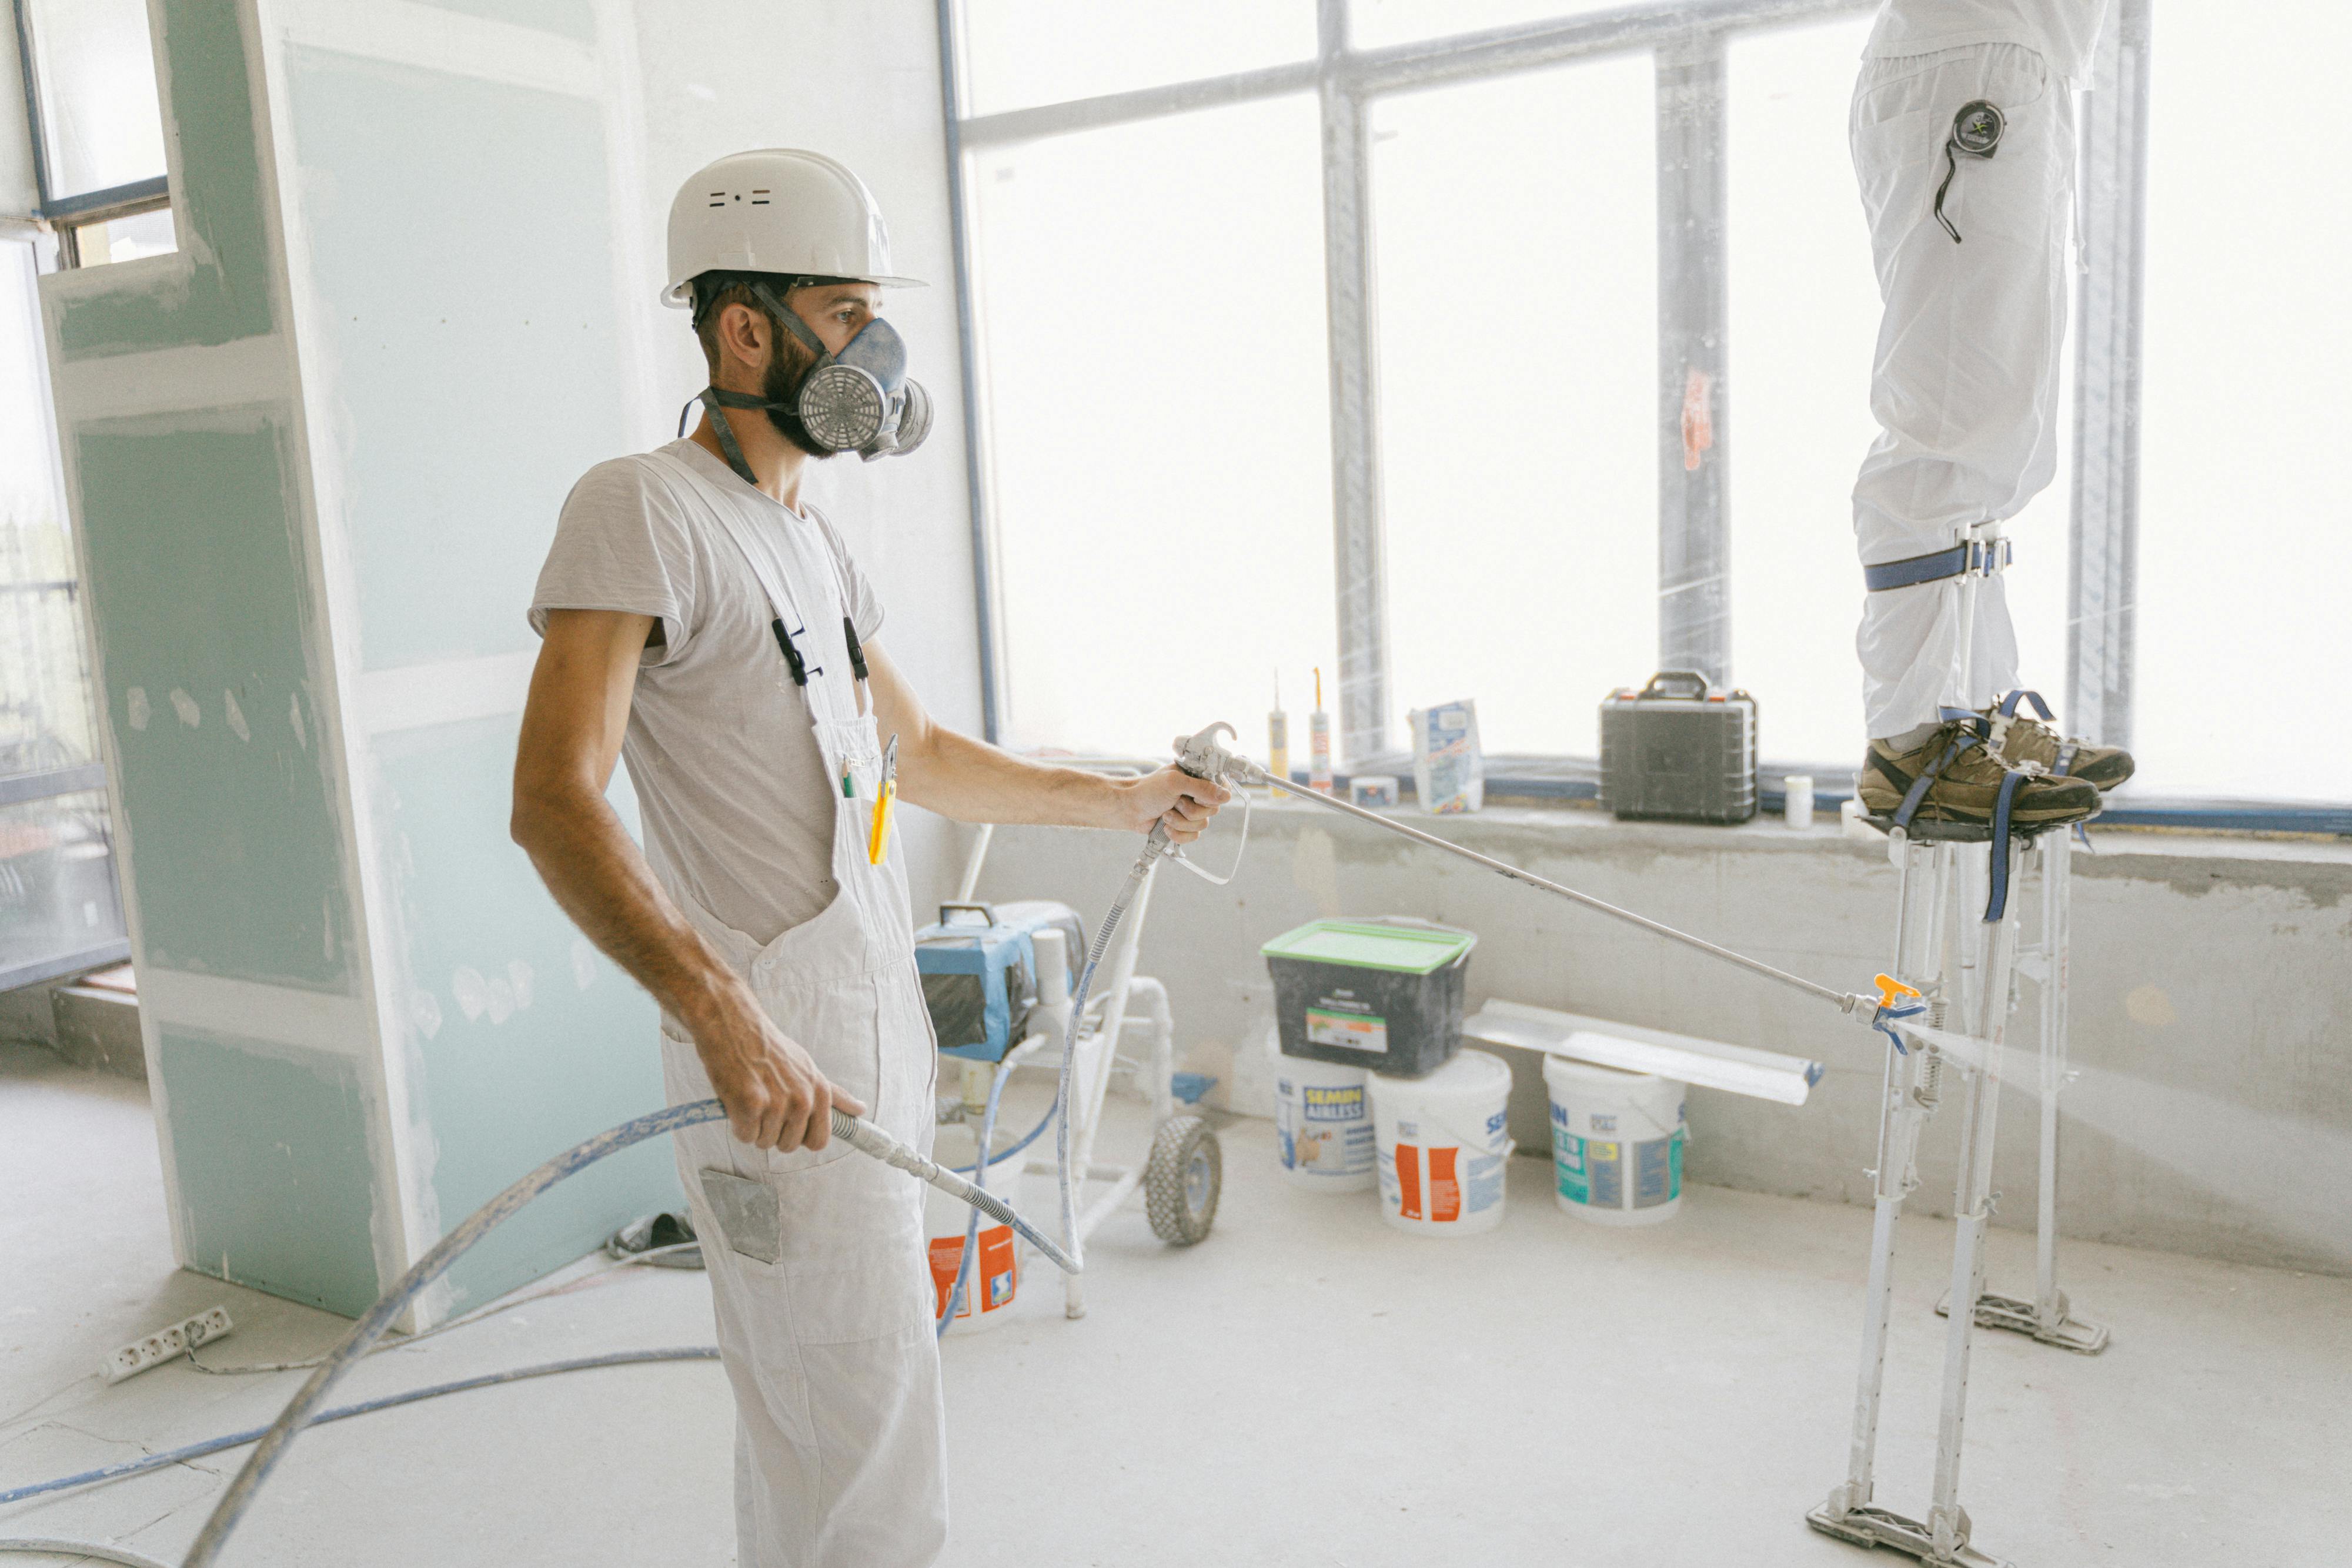
- Safety Gear: Goggles and gloves to protect yourself during operation.
Step-by-Step Guide to DIY Painting
Step 1: Prepare Your Surface
Preparation is key to a successful paint job. Clean the surfaces you plan to paint thoroughly to remove dust and debris. For exterior surfaces, use a pressure washer to clean effectively. Allow surfaces to dry completely before applying primer.
Step 2: Apply Primer
Priming helps paint adhere better and enhances its durability. Apply primer evenly across the surface and allow it to dry as per the manufacturer’s instructions.
Step 3: Start Painting
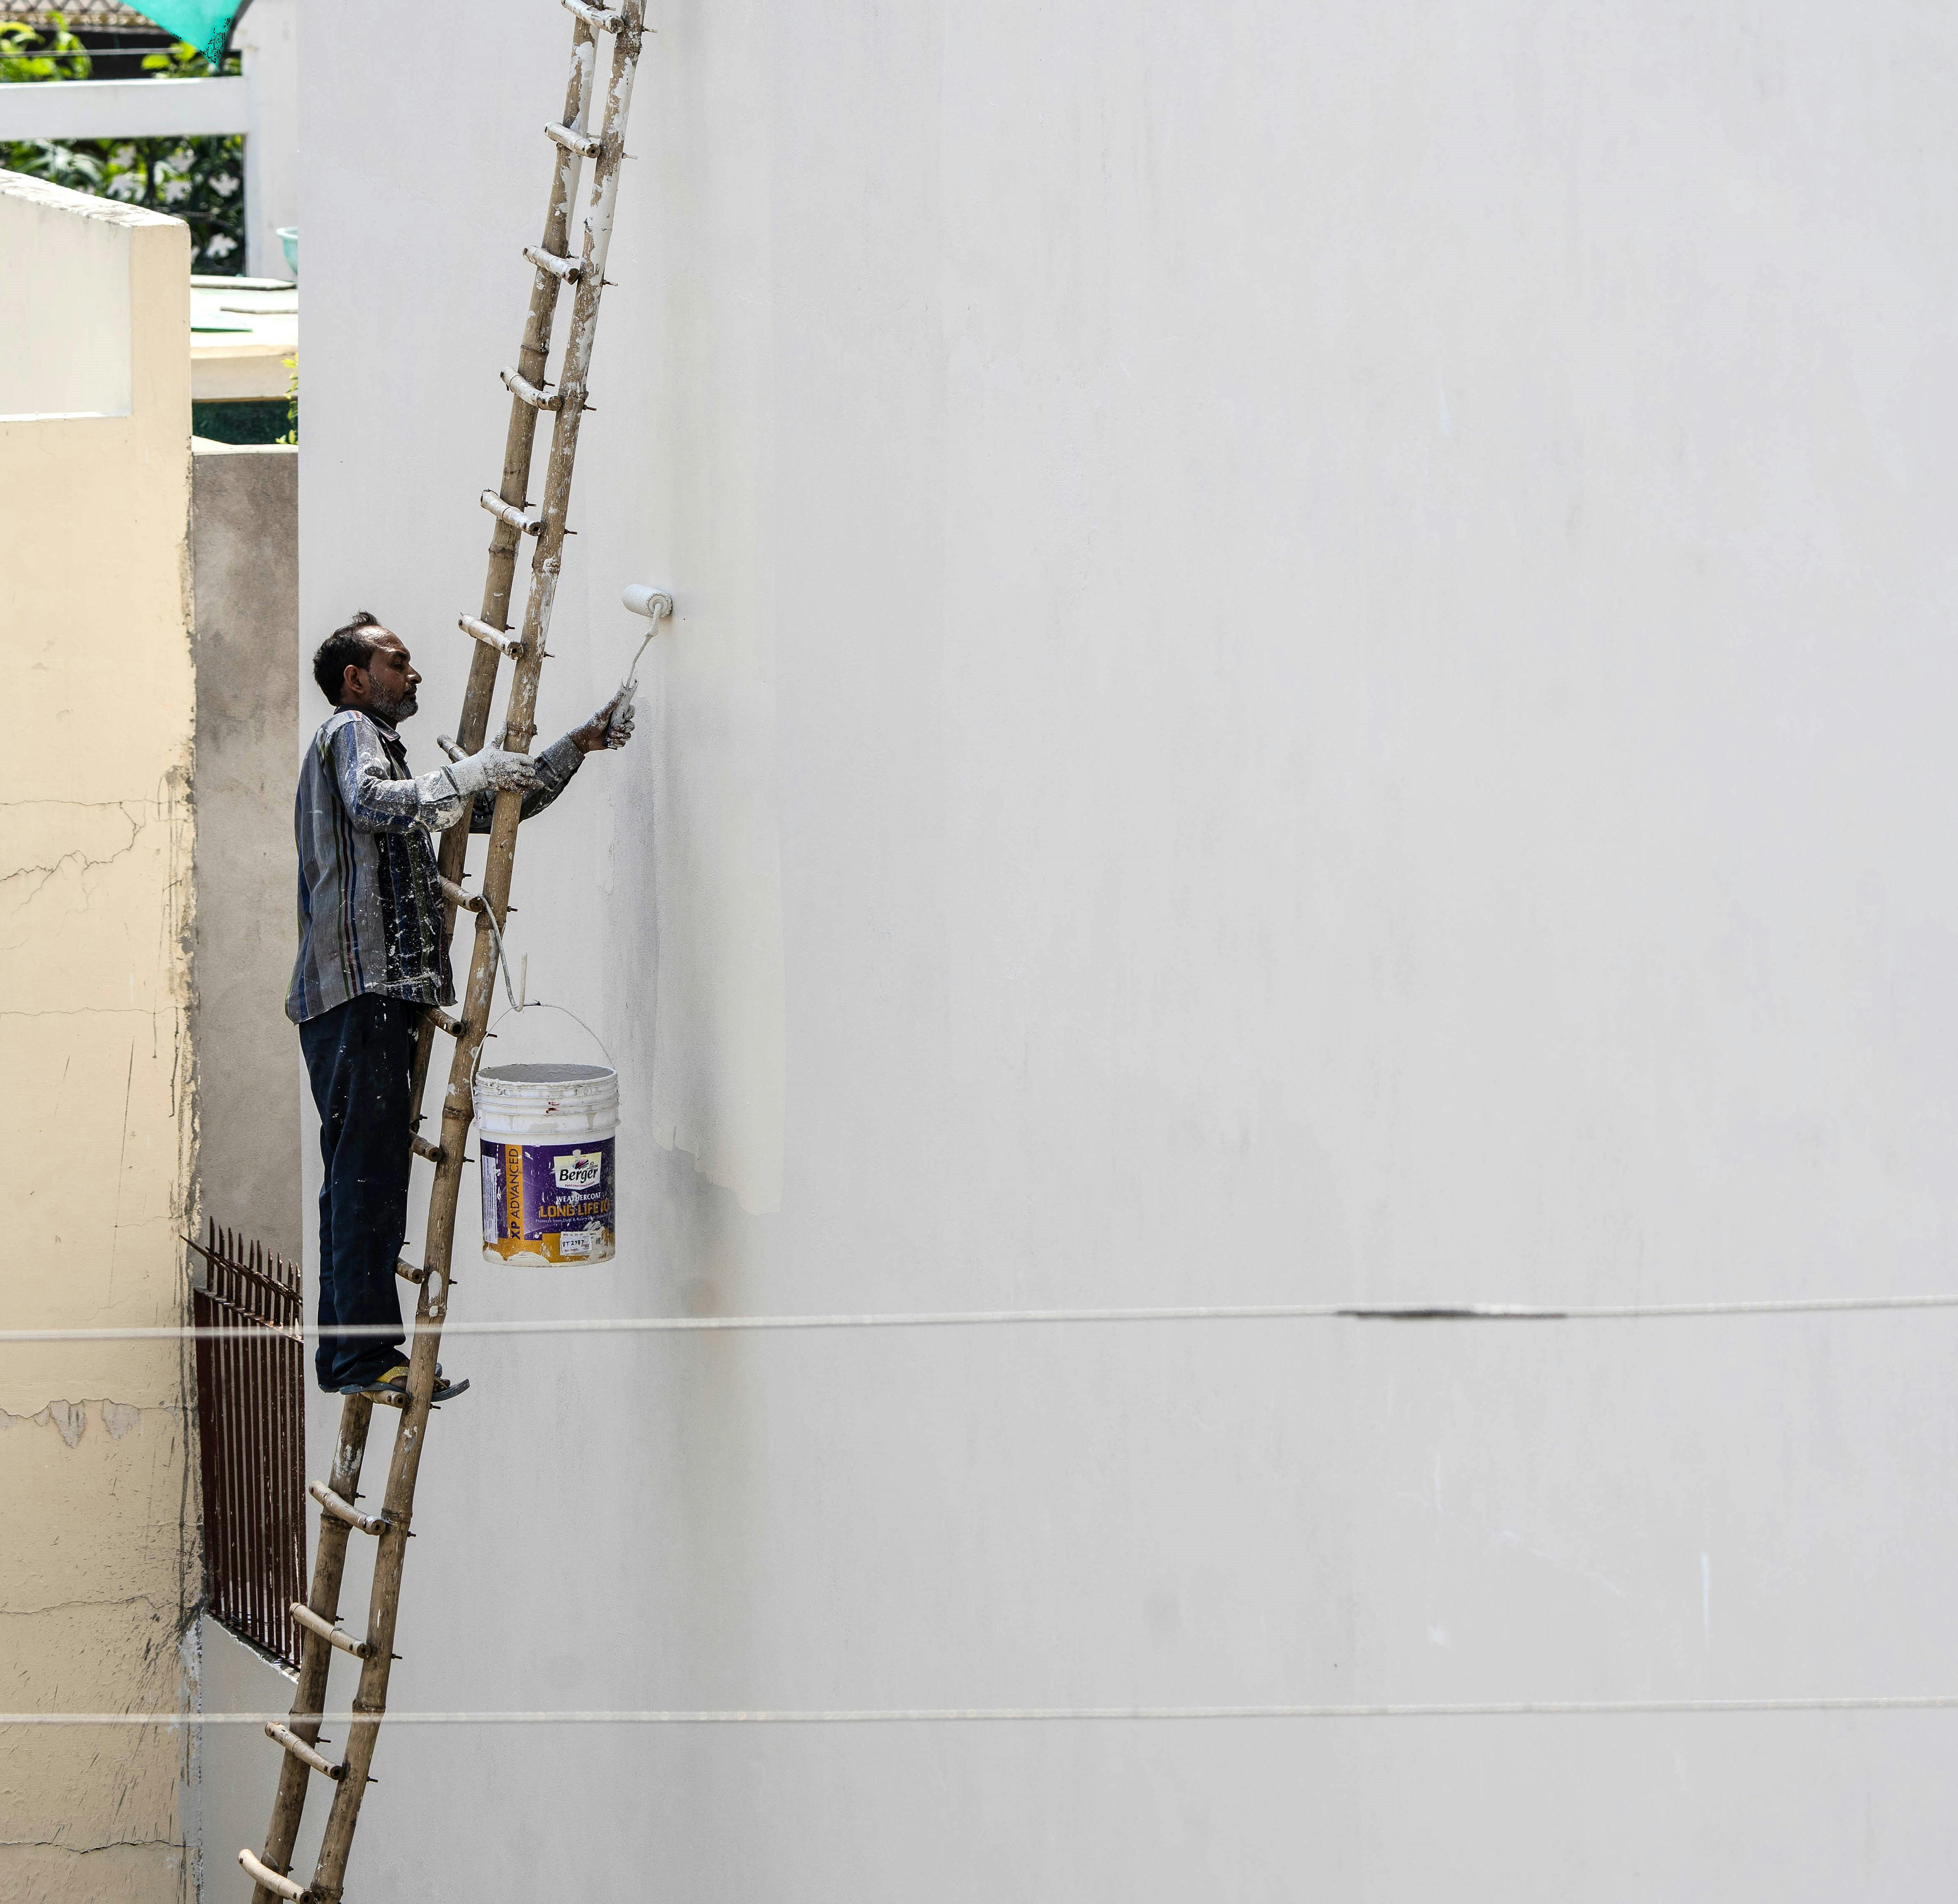
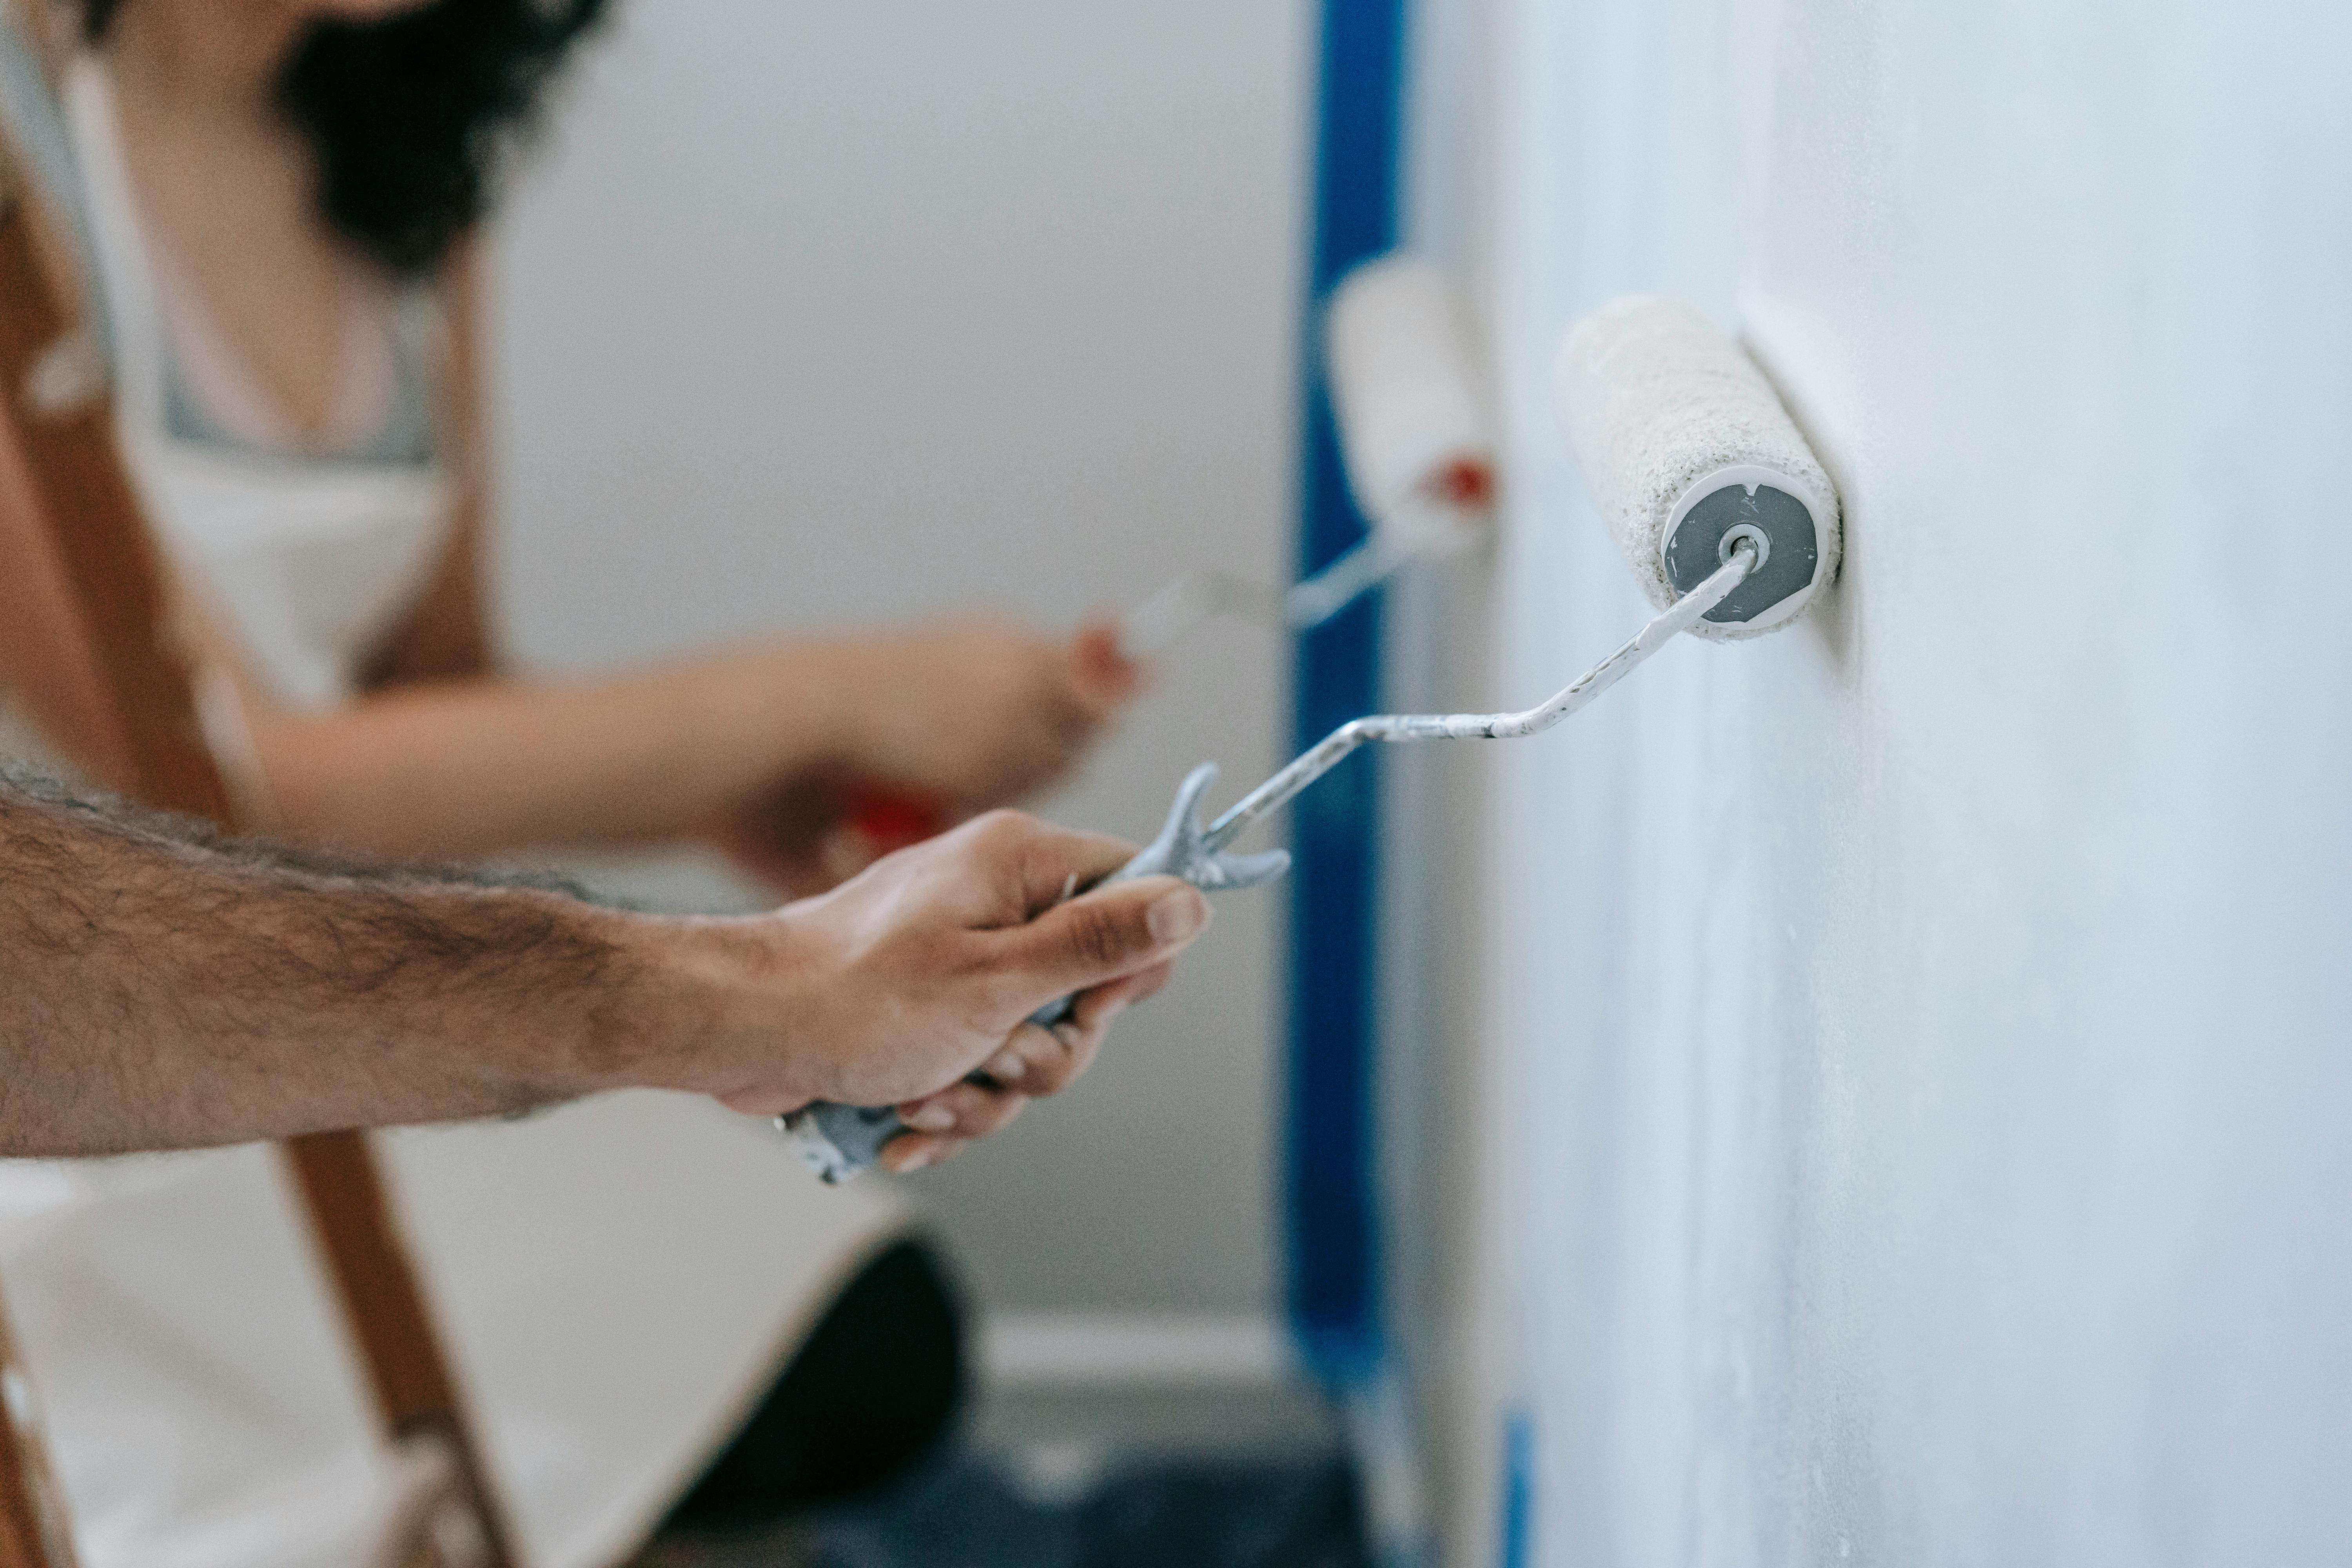
Begin with the edges and corners using a brush, then move to larger sections with a roller. Apply paint in thin, even layers, allowing each coat to dry before applying the next. This will prevent drips and uneven coverage.
Step 4: Clean Up
Once you've finished painting, clean your brushes and rollers immediately to prolong their life. Remove painter’s tape before the paint is completely dry to avoid peeling paint with the tape.
Step-by-Step Guide to DIY Pressure Washing
Step 1: Choose the Right Pressure Washer
Select a pressure washer with sufficient PSI (pounds per square inch) for the surfaces you intend to clean. For most home projects, a PSI of 1500 to 3000 is adequate.
Step 2: Test Your Pressure Washer
Before starting, test the pressure washer on a small inconspicuous area to ensure the pressure is not too high, which could damage surfaces.
Step 3: Begin Washing
Hold the nozzle at a 45-degree angle and maintain a consistent distance from the surface. Move in a sweeping motion to avoid streaks. Use detergents for stubborn stains and rinse thoroughly.
Step 4: Safety First
Always wear protective gear and never point the pressure washer at anyone. Be cautious around windows and delicate surfaces.
Common Mistakes and How to Avoid Them
Even with the best intentions, beginners can make mistakes. Here are some common pitfalls and tips on how to avoid them:
- Skipping Surface Prep: Always clean and repair surfaces before painting to ensure paint adherence and longevity.
- Overlooking Primer: While it may seem like an unnecessary step, primer is crucial for a professional finish.
- Using Incorrect Pressure: Too much pressure can damage surfaces, while too little can be ineffective. Test first!
- Ignoring Safety: Wear protective gear and follow safety instructions to avoid accidents.
Conclusion: Transform Your Home with Confidence
Embarking on a DIY painting and pressure washing project can be incredibly rewarding. By following this guide, Murphy homeowners can enhance their properties' curb appeal and interior aesthetics with confidence and skill. Remember, preparation and patience are your best allies in achieving professional results.
For those who prefer to leave it to the experts, Thomas Painting & Pressure Washing is always available to assist with your home improvement needs.