Introduction to DIY Painting and Pressure Washing
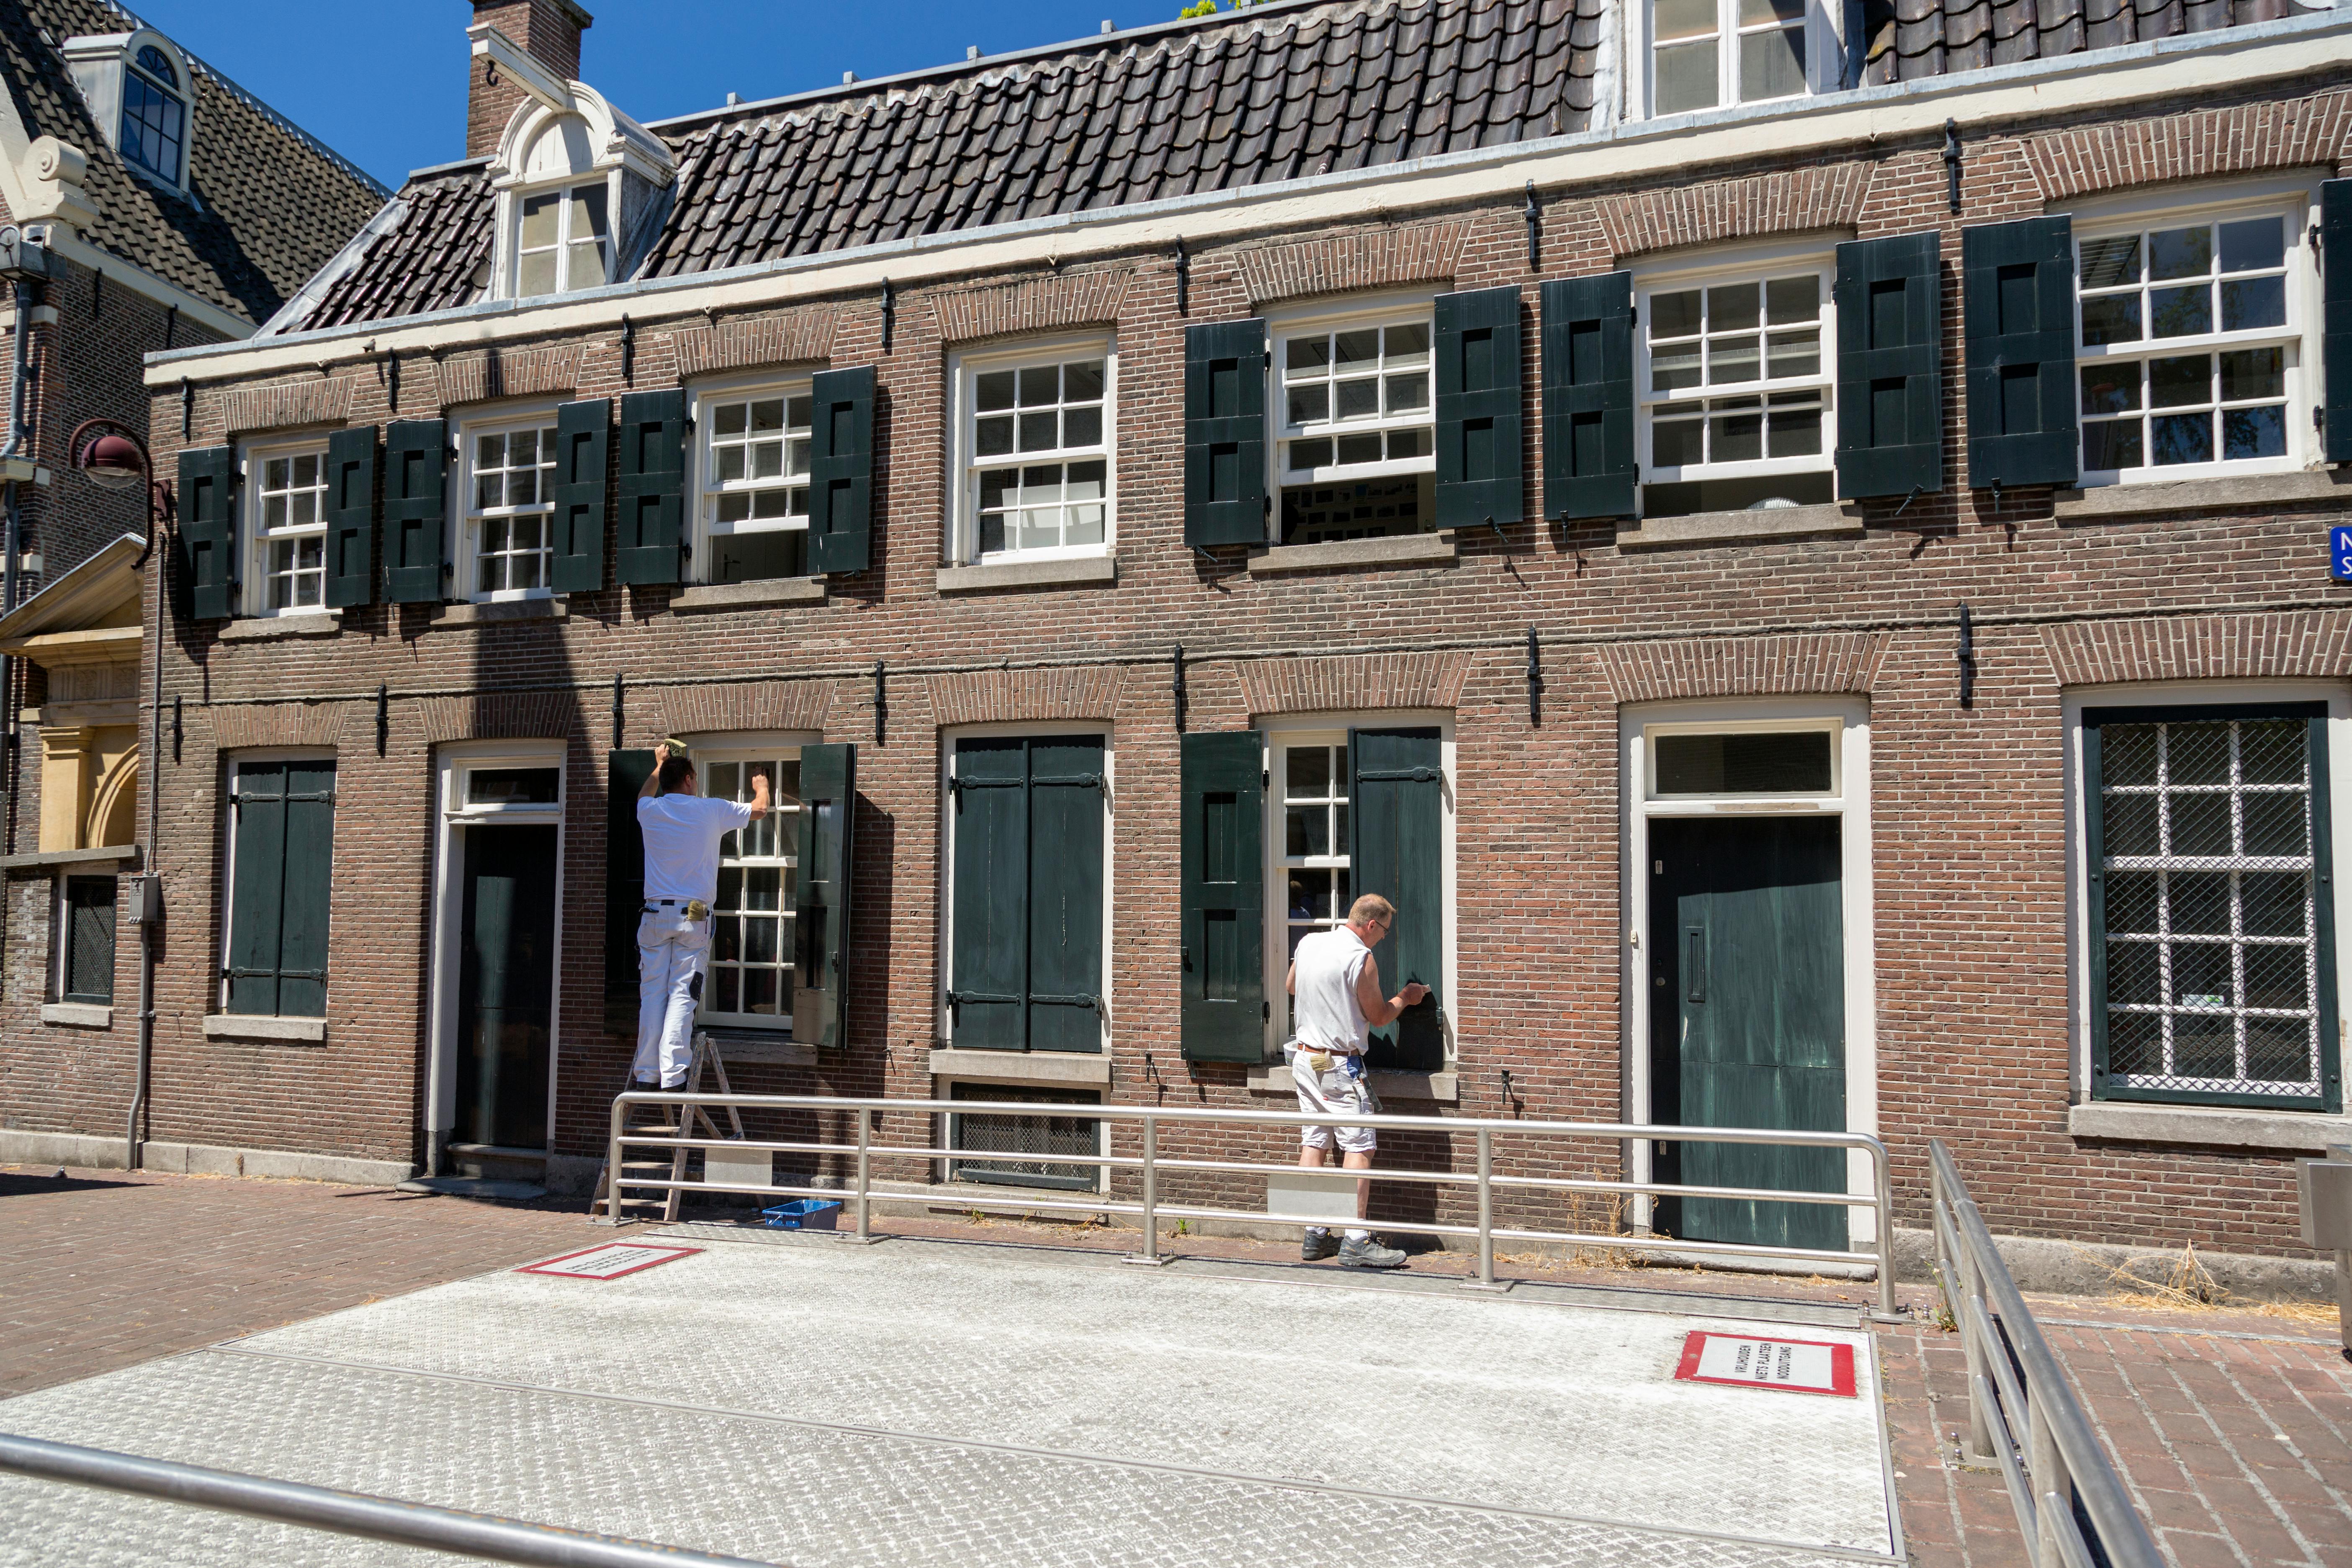
As a homeowner in Murphy, North Carolina, you might be considering taking on some DIY projects to enhance the beauty and longevity of your home. Painting and pressure washing are two tasks that, while they may seem daunting, can be tackled with the right guidance and a bit of practice. This guide will walk you through the basics, providing you with the confidence and know-how to get started.
Essential Tools and Materials
Painting Tools and Materials
Before you dive into your painting project, ensure you have these essential tools and materials:
- Paint: Choose high-quality paint suitable for the surface you're working on.
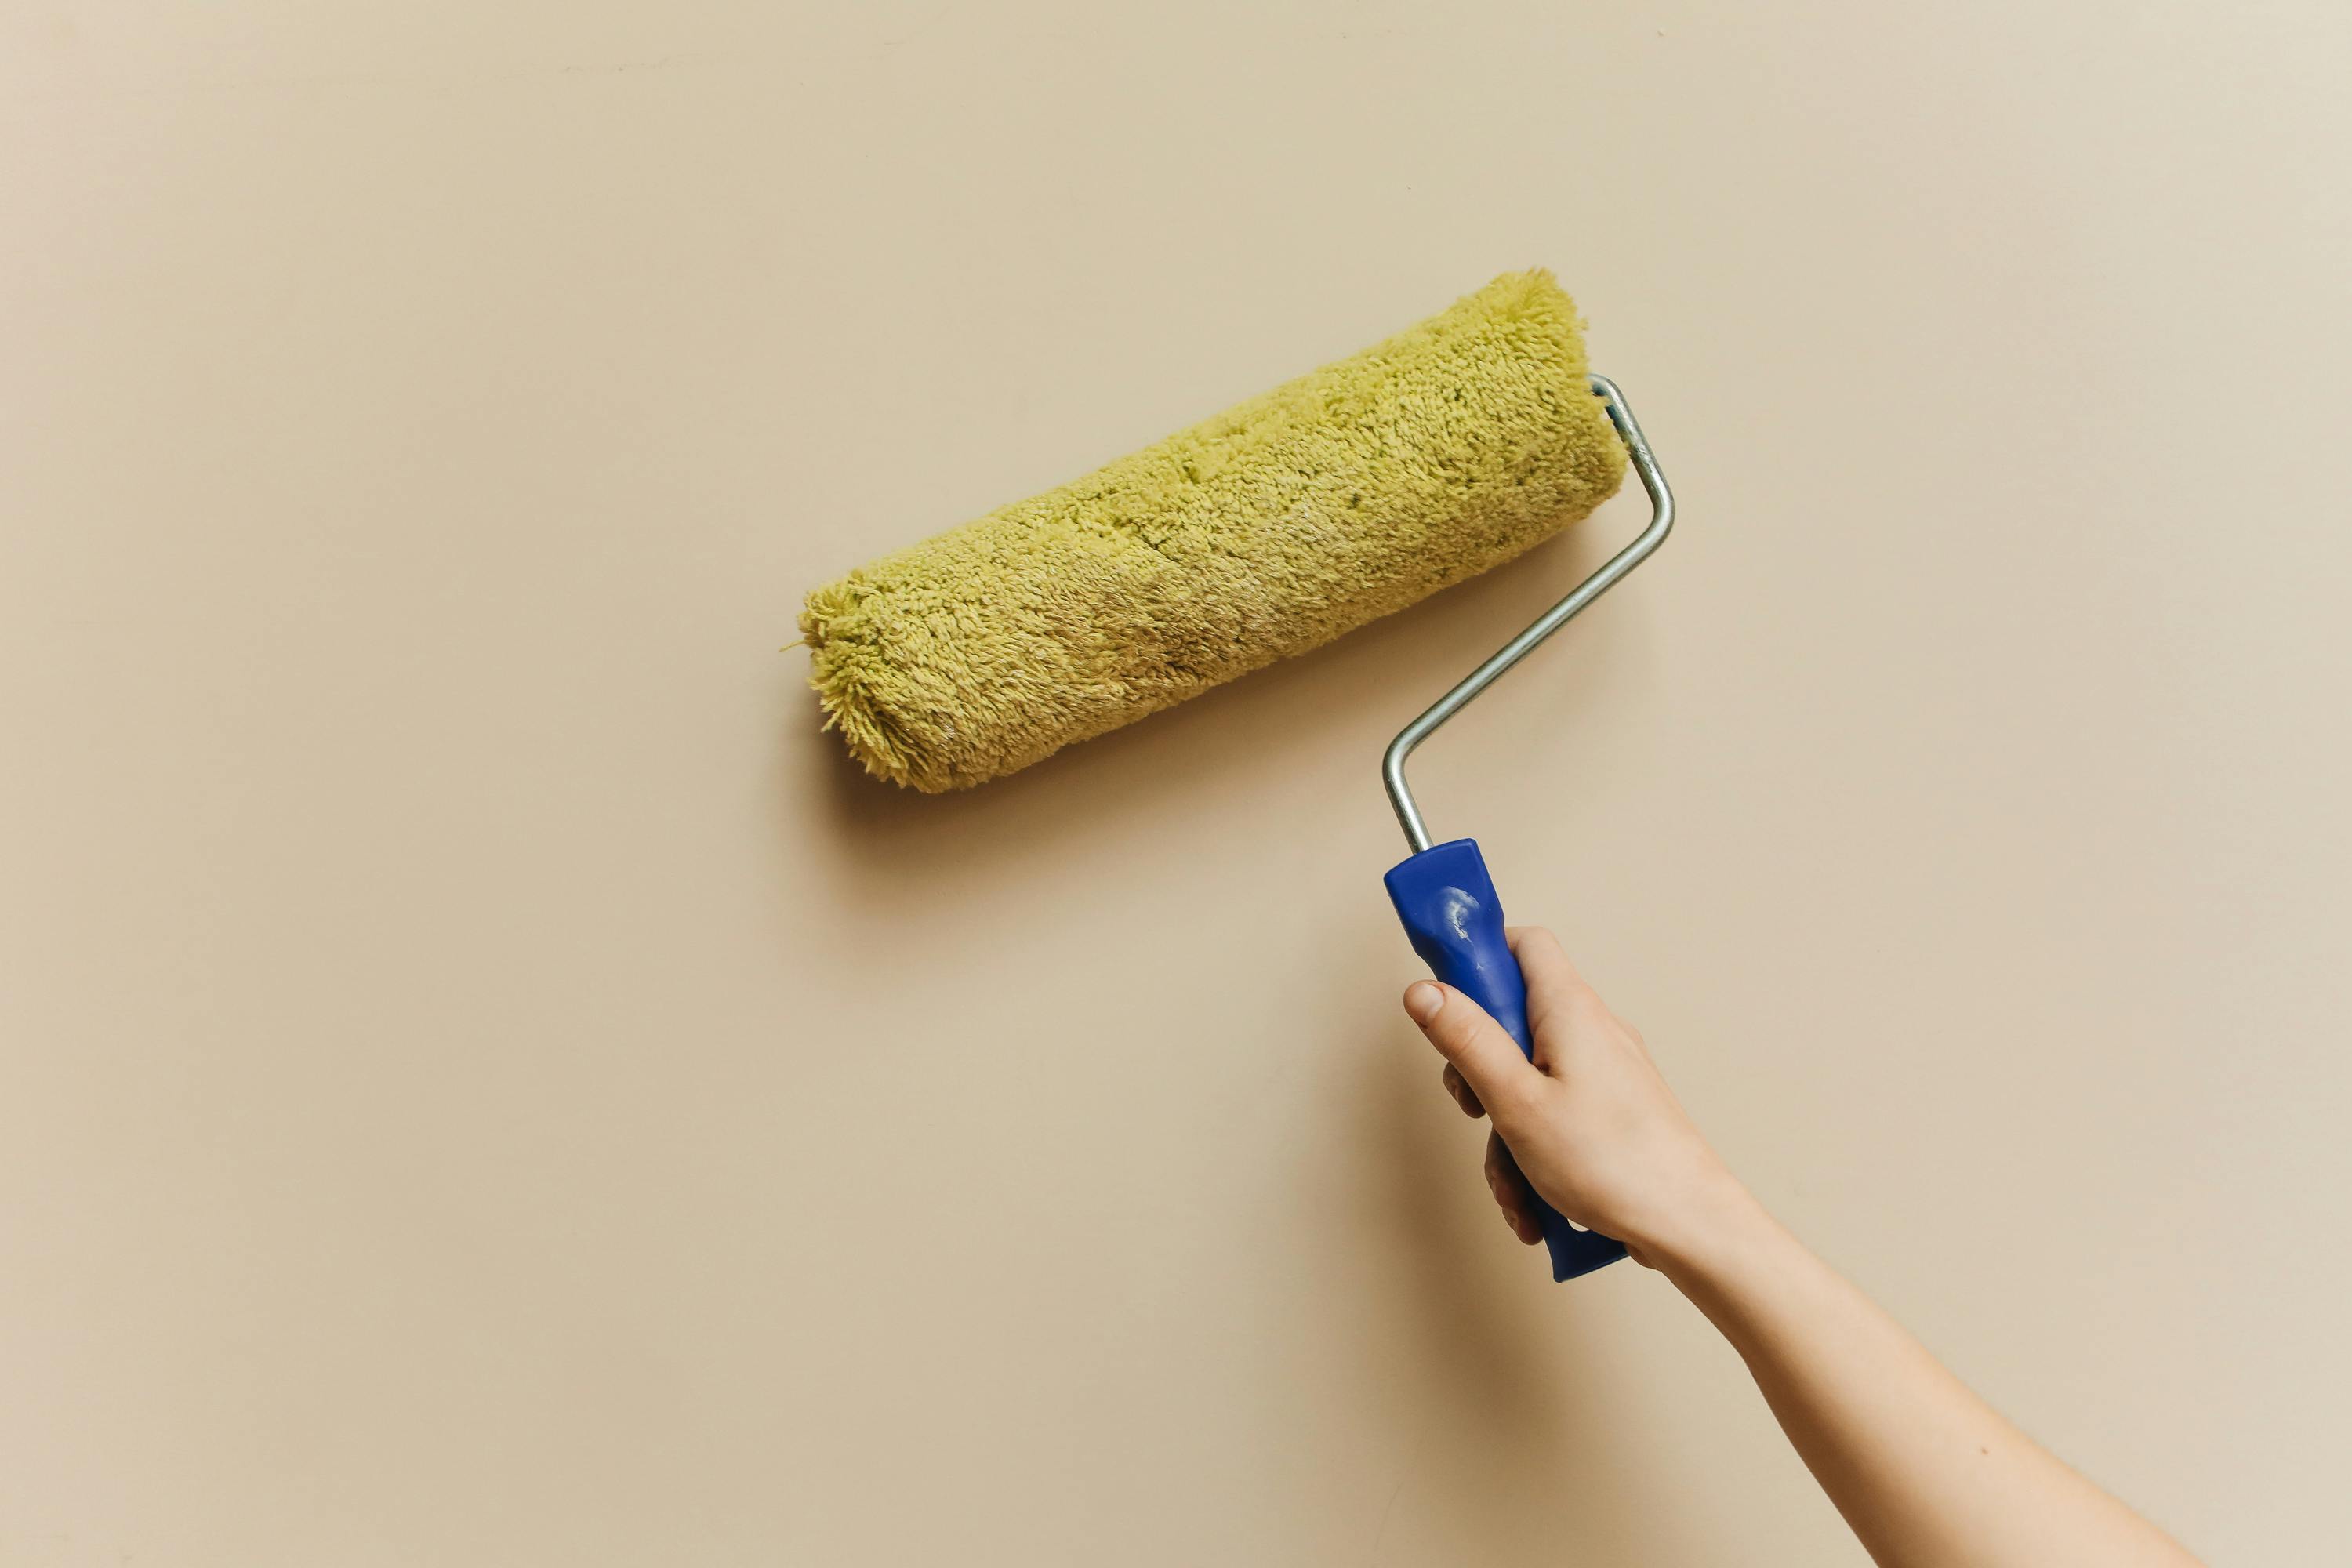
- Brushes and Rollers: Have a variety of sizes for different surfaces and details.
- Painter’s Tape: Perfect for creating clean lines and protecting surfaces.
- Drop Cloths: Protects floors and furniture from drips and spills.
- Primer: Essential for preparing surfaces and ensuring paint adhesion.
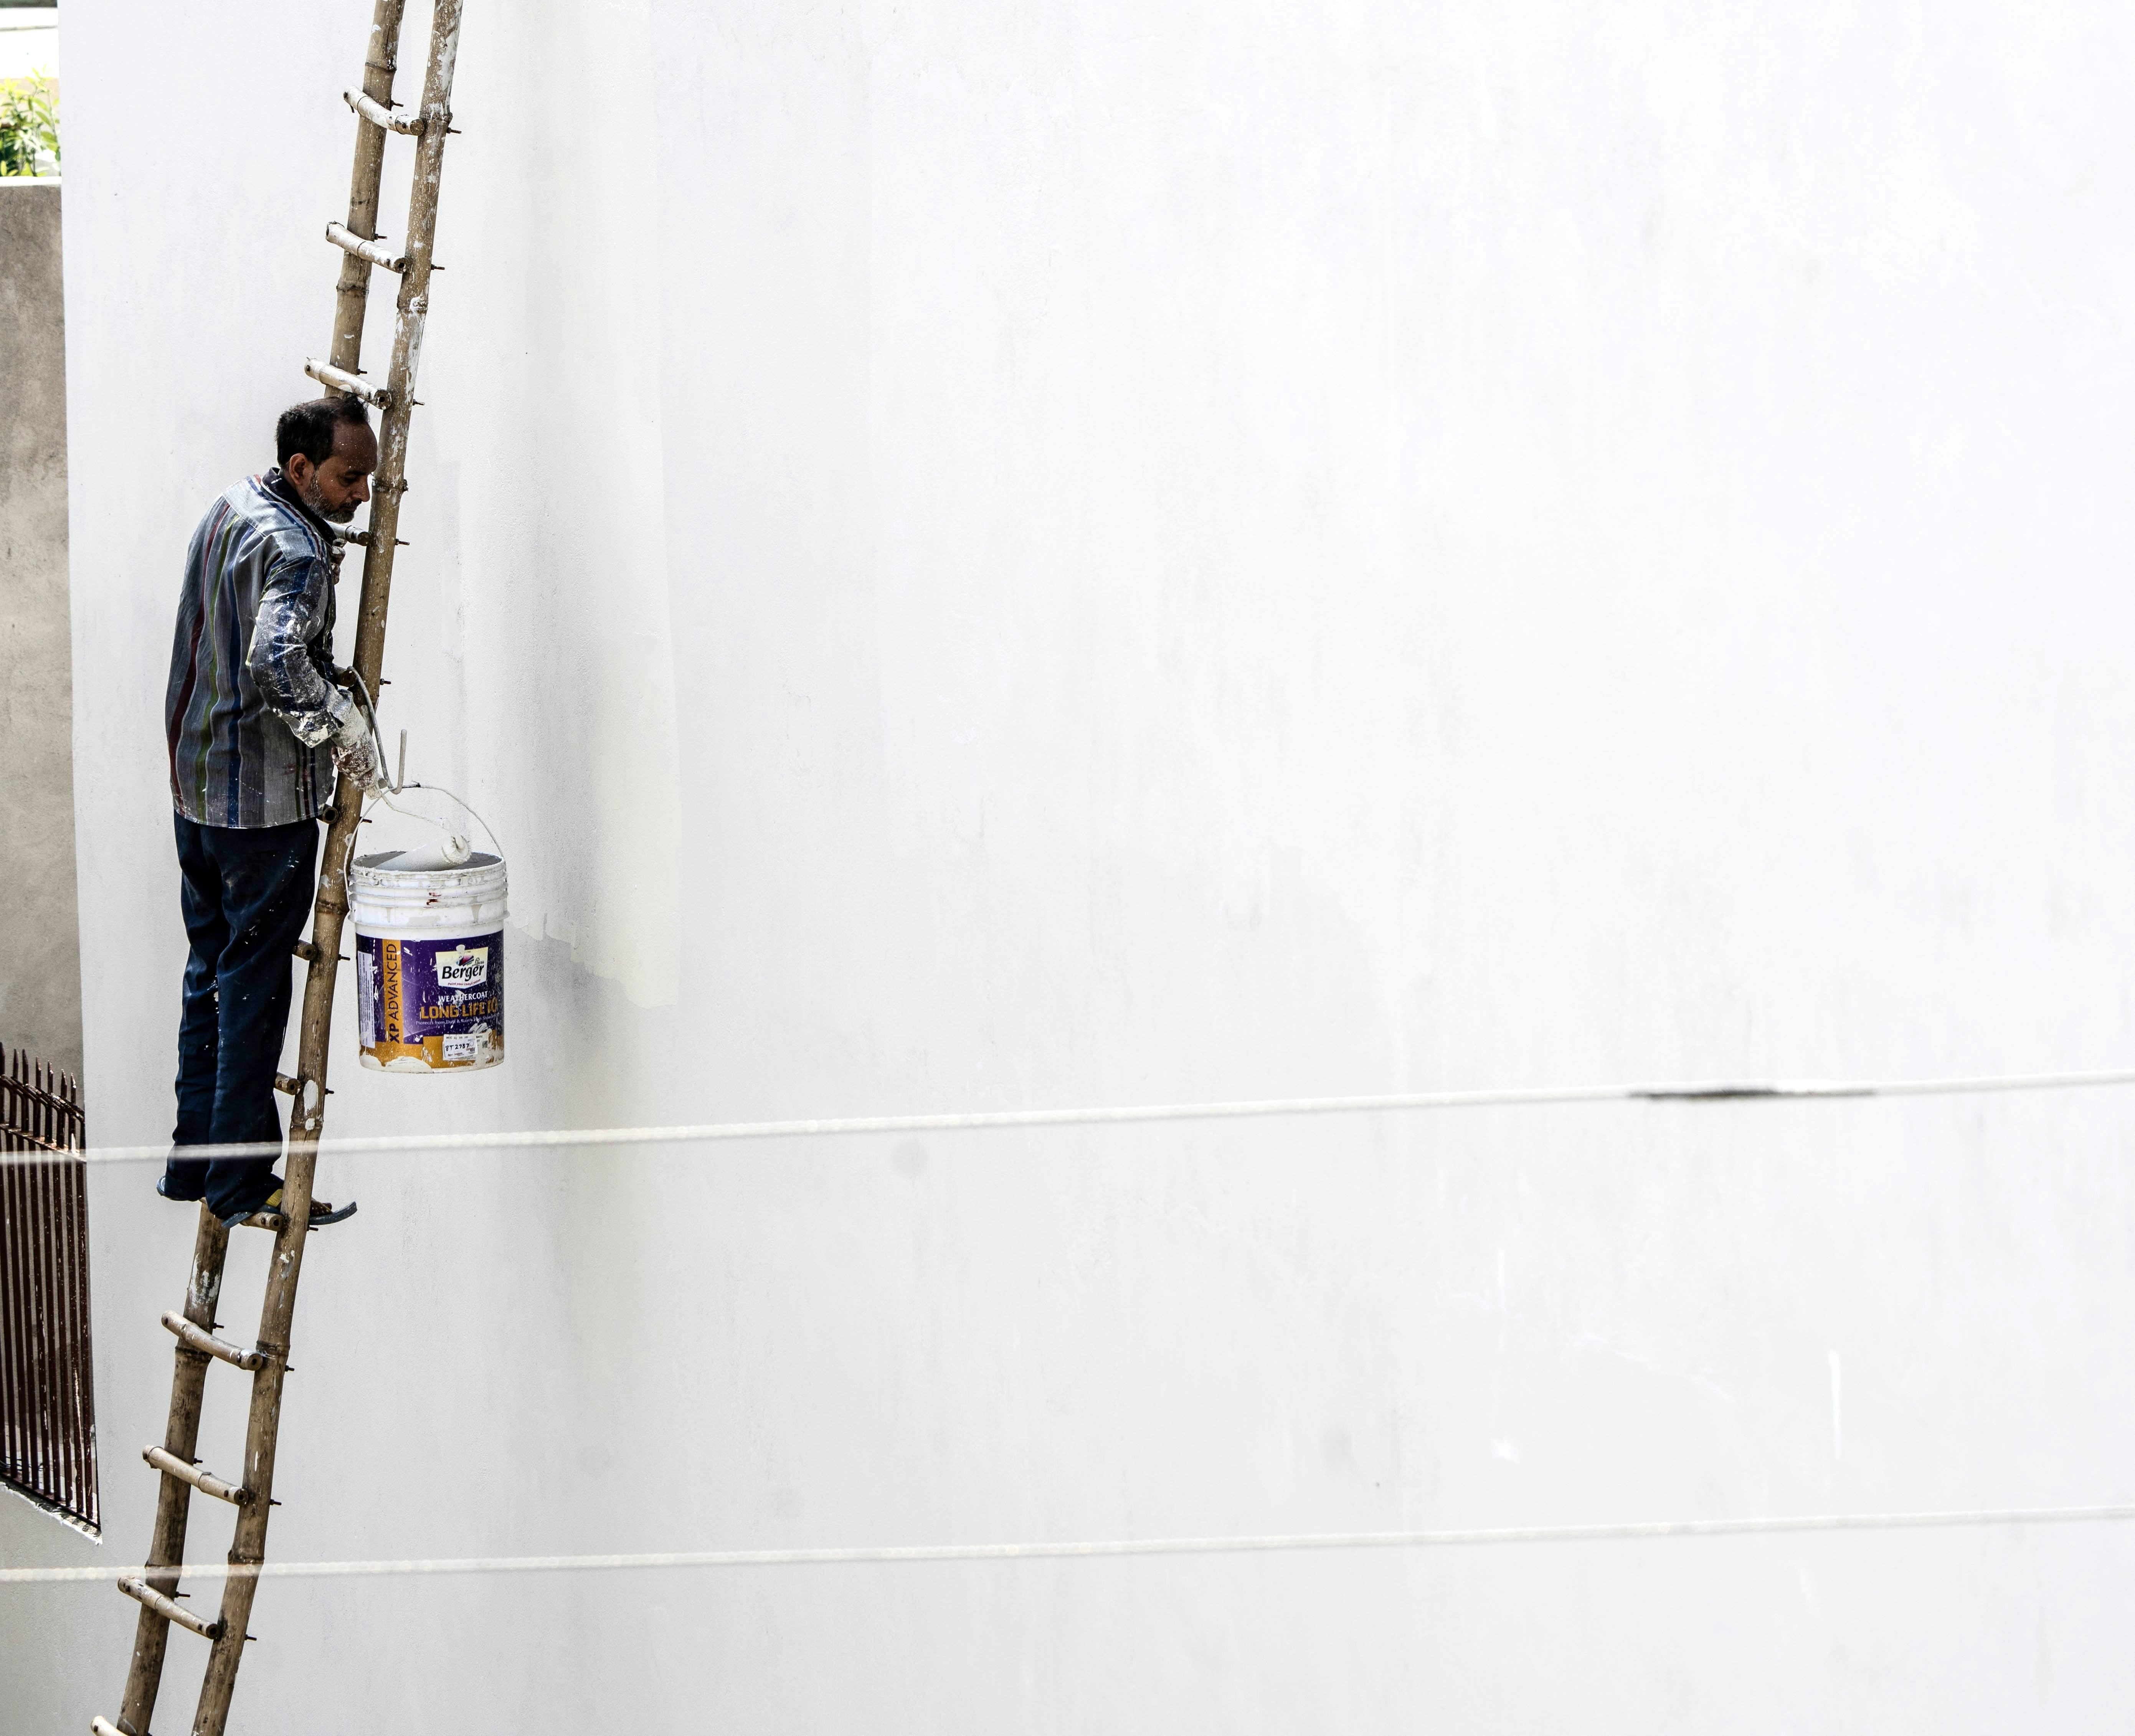
- Ladder: For reaching higher areas safely.
Pressure Washing Tools and Materials
For pressure washing, you'll need:
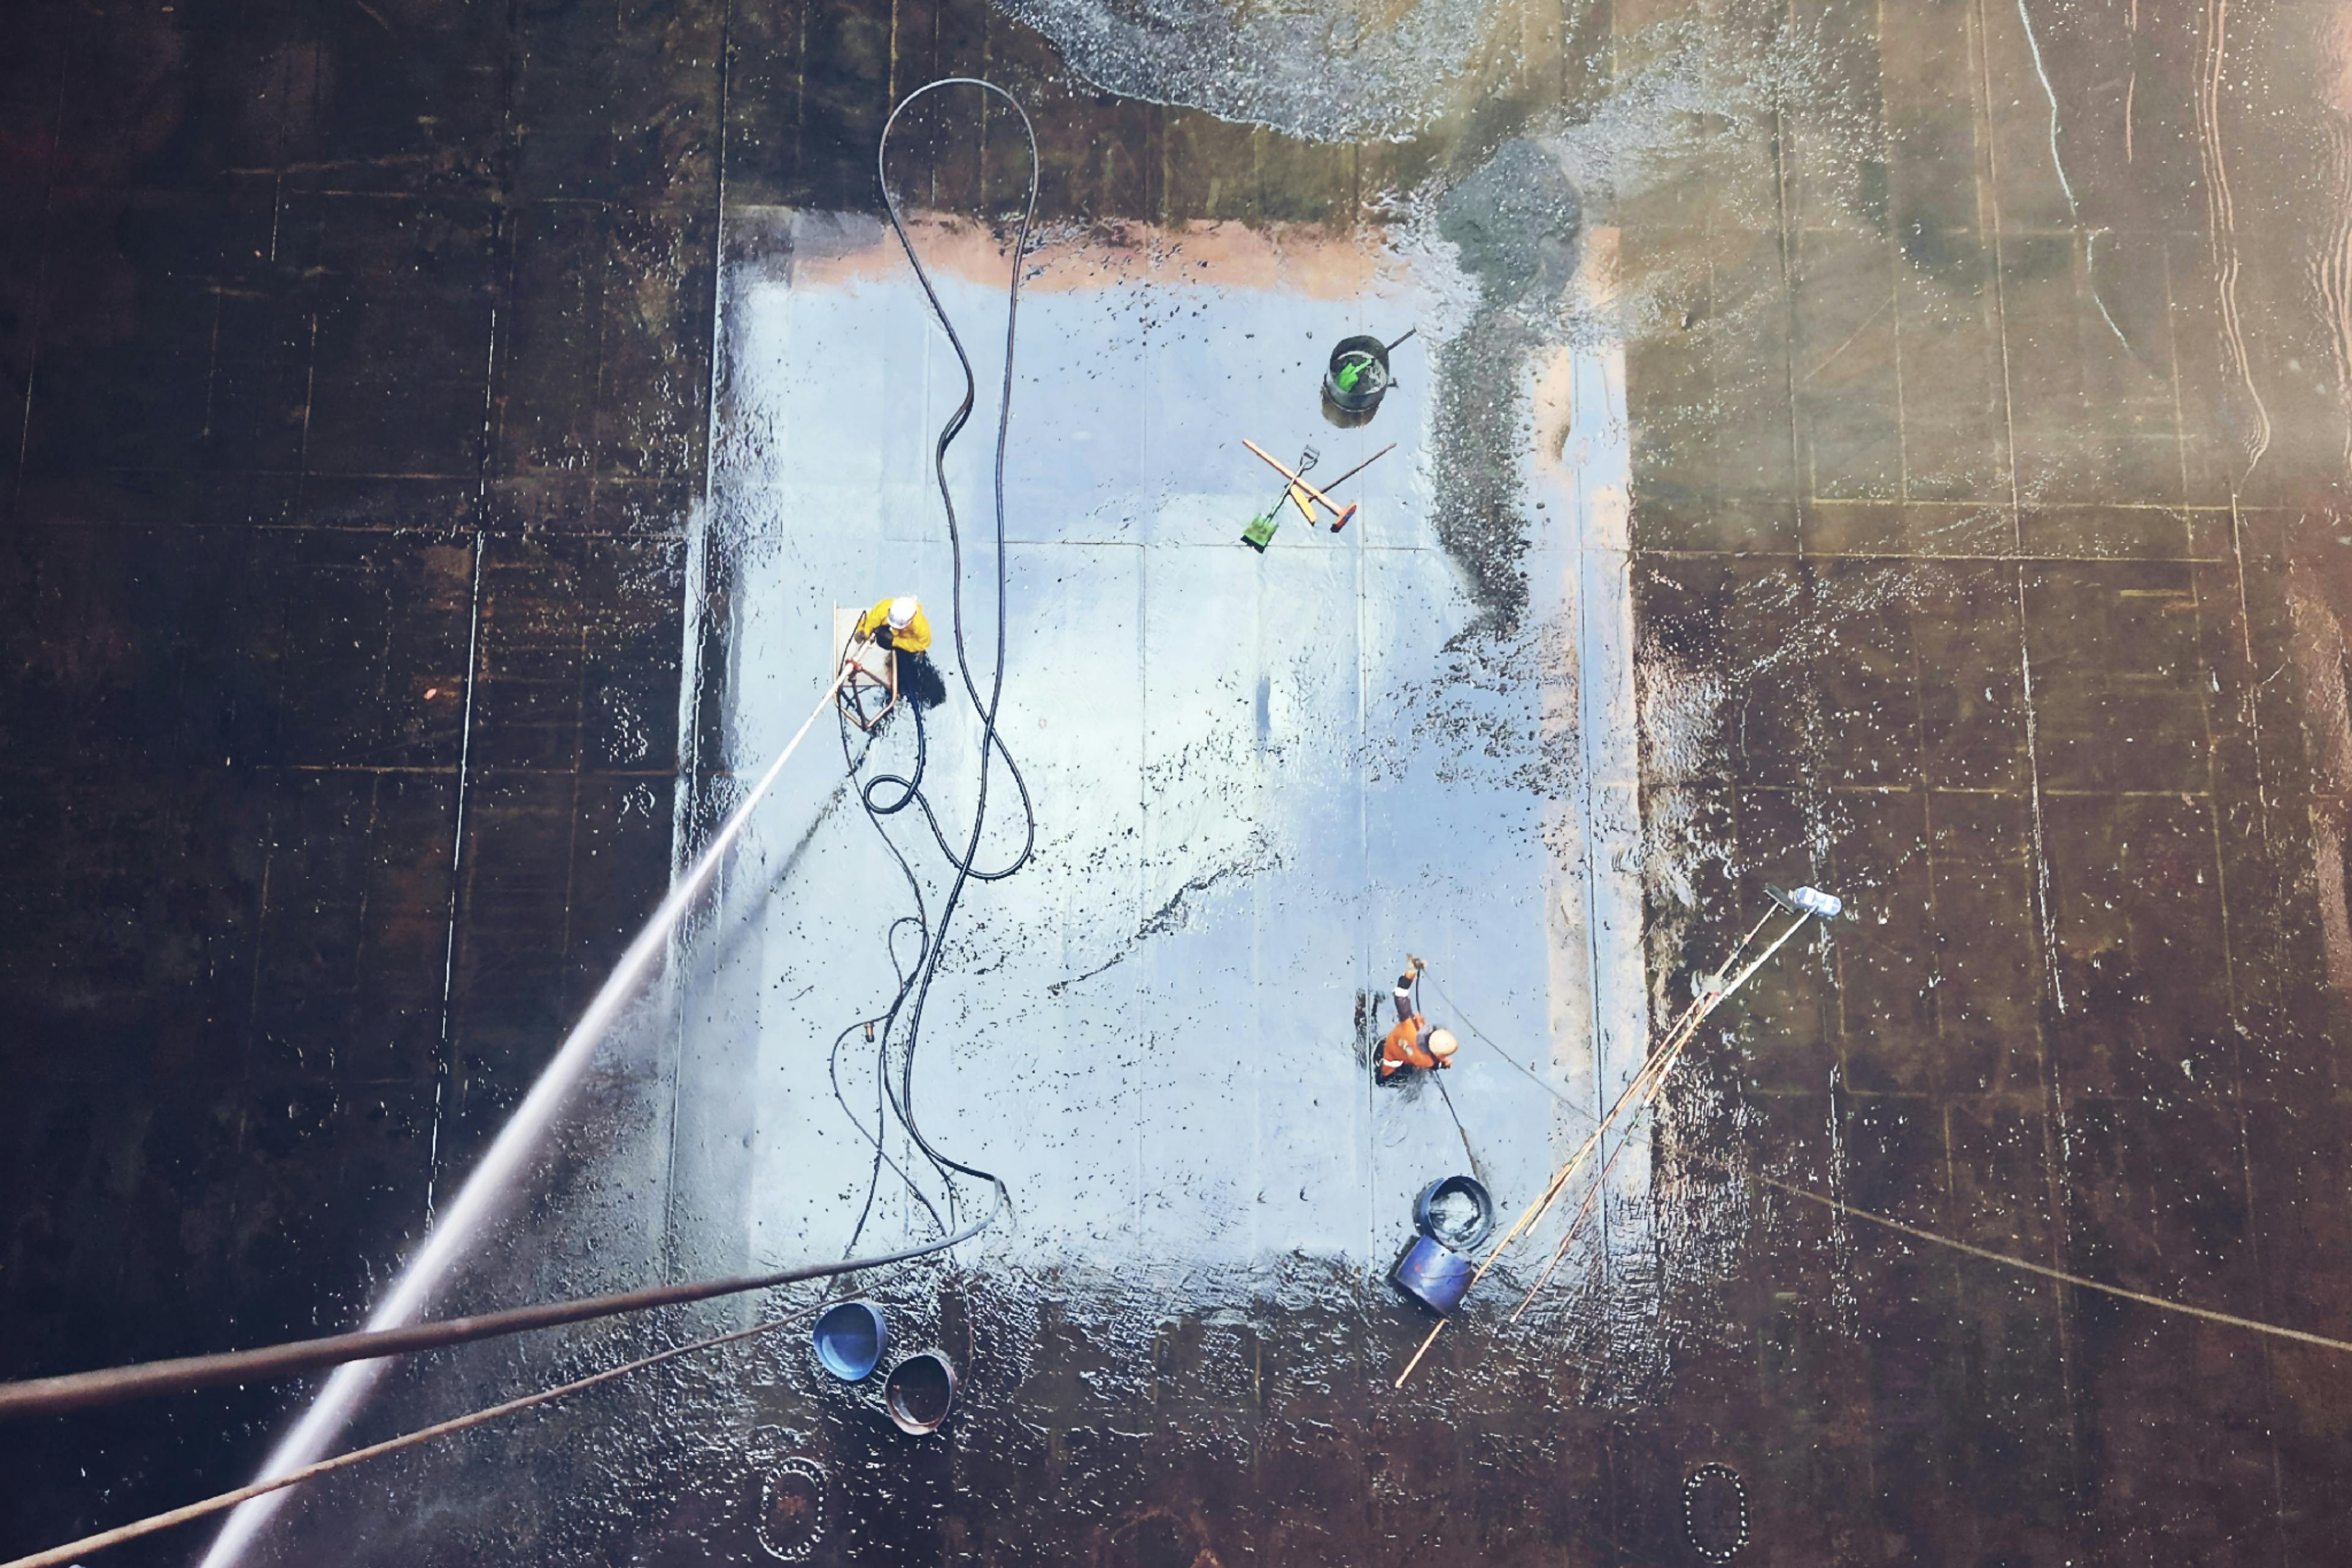
- Pressure Washer: Choose the right PSI (pounds per square inch) for the surface.
- Nozzles: Different nozzles for varying pressure and spray patterns.
- Detergents: Use detergents appropriate for the material you are cleaning.
- Safety Gear: Goggles and gloves to protect against debris and chemicals.
Steps to Painting Like a Pro
Preparing Your Space
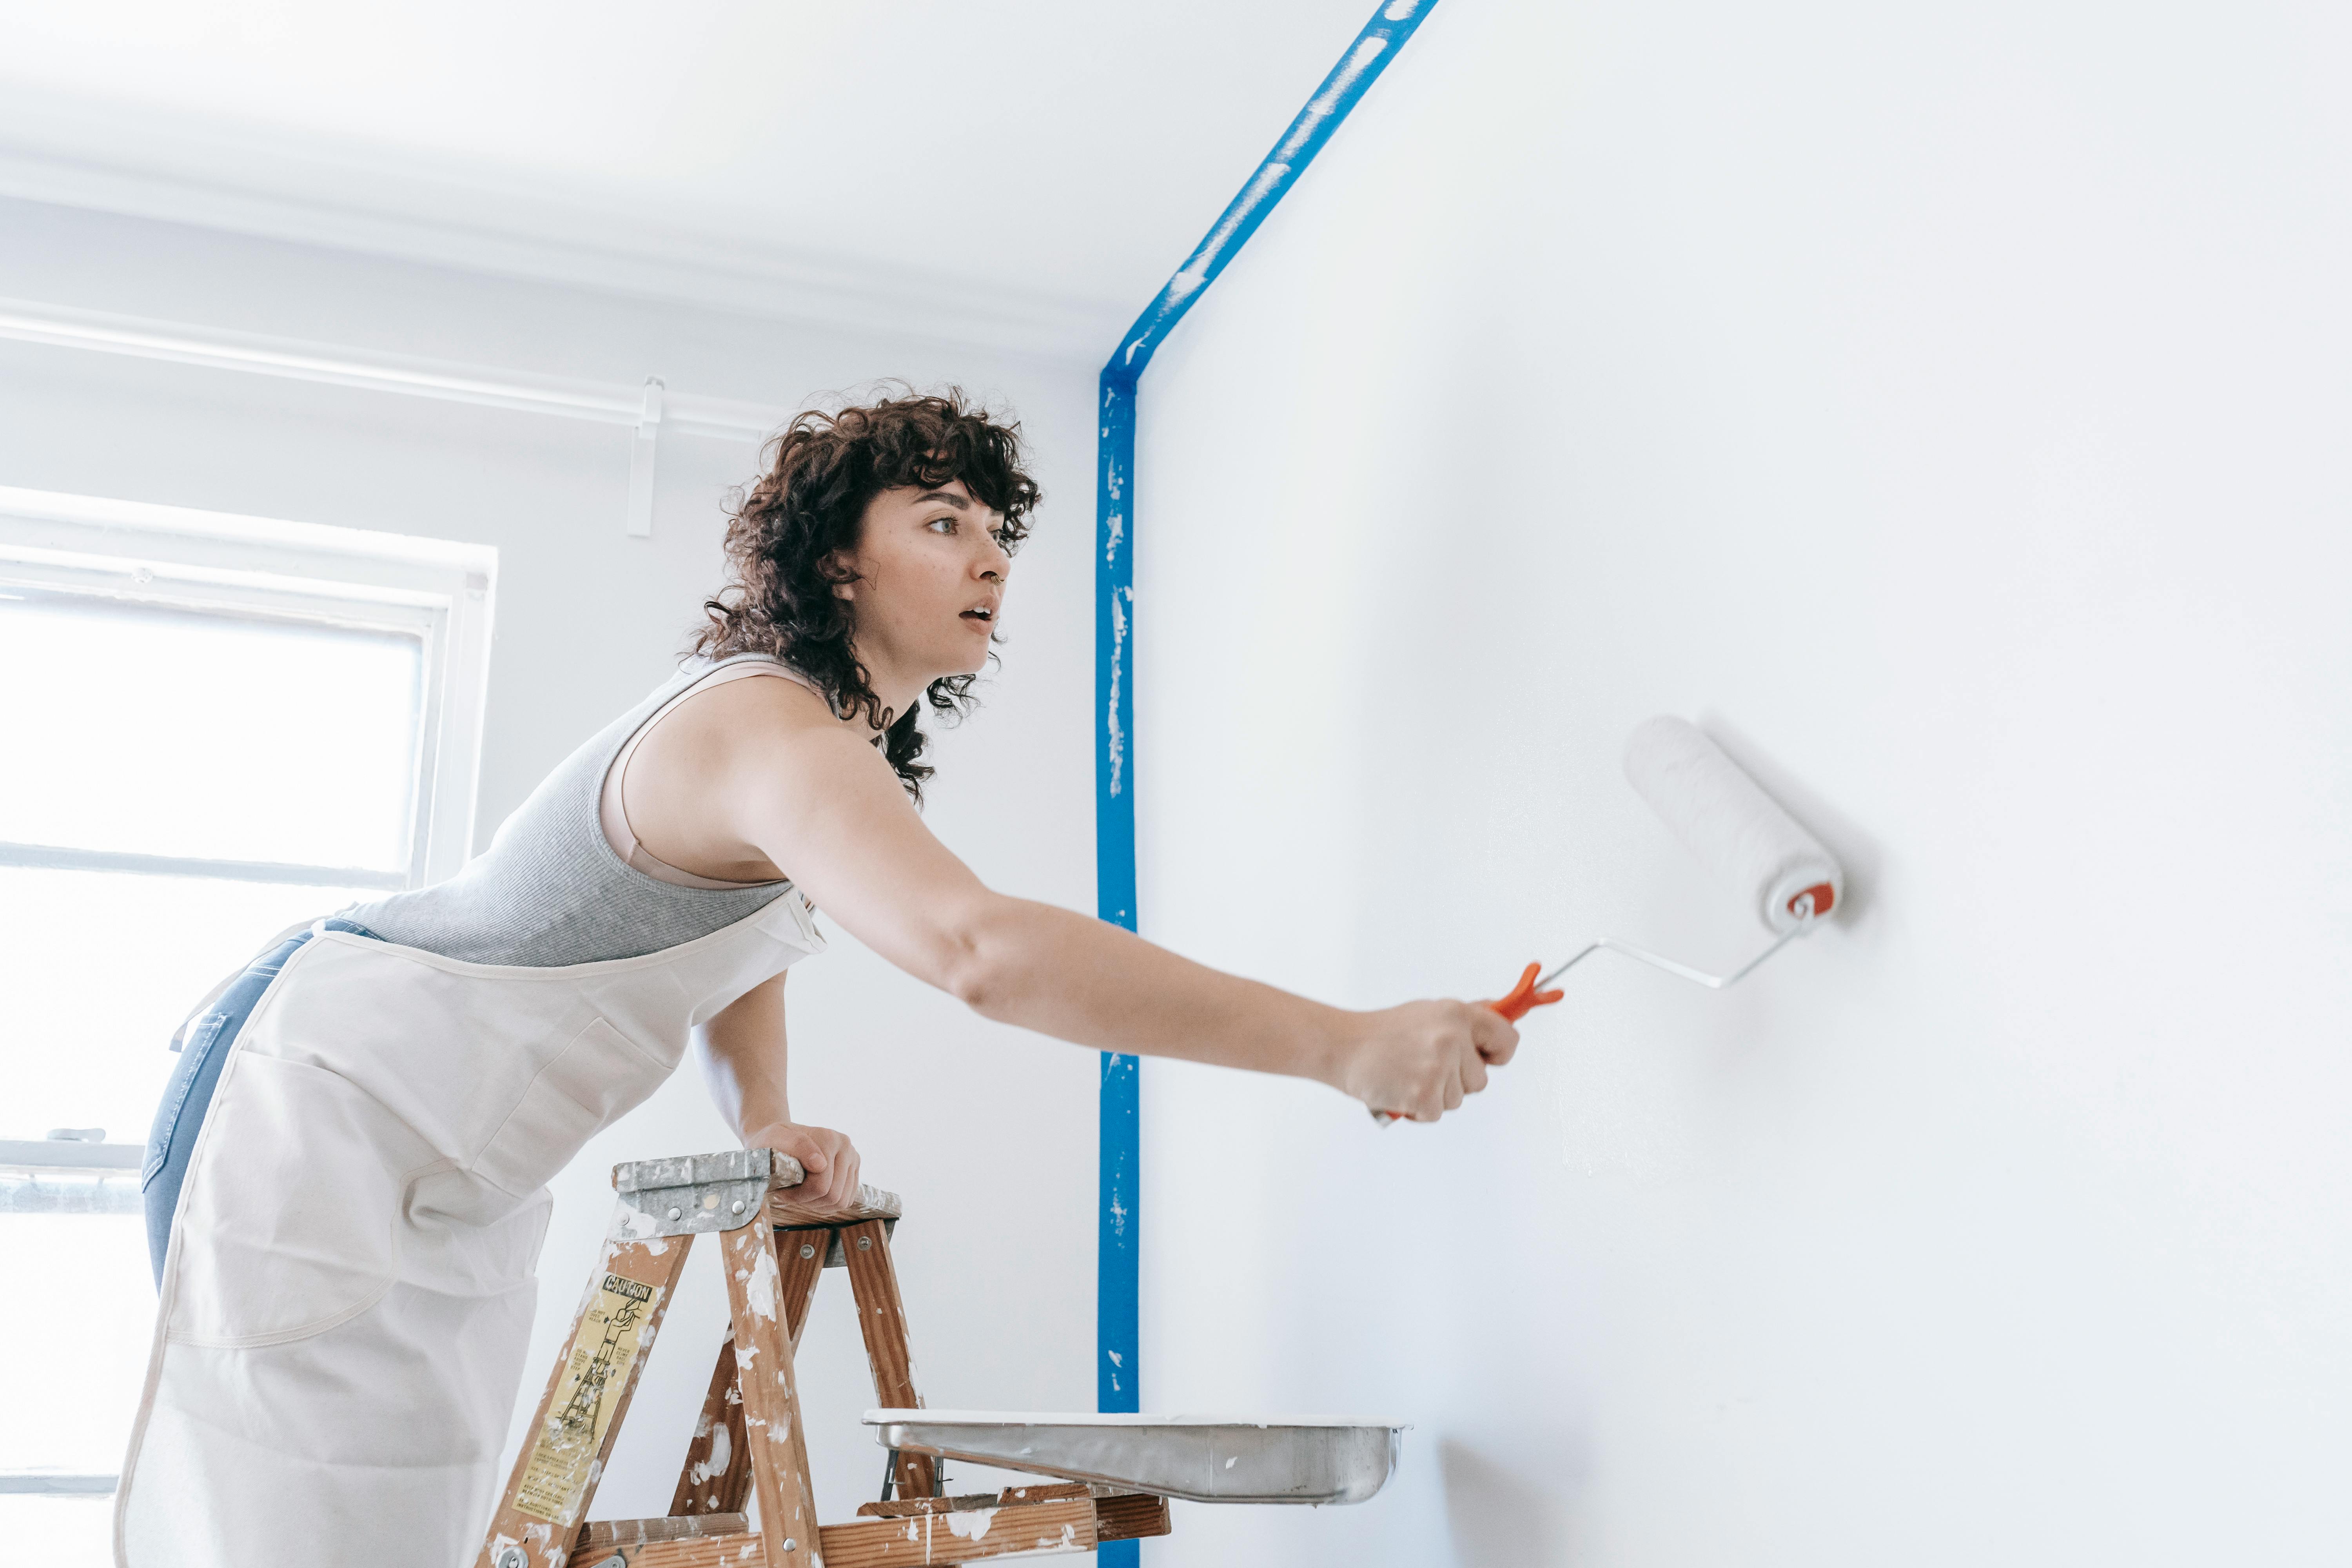
Proper preparation is key to a successful paint job. Start by moving furniture away from walls and covering floors with drop cloths. Use painter’s tape to protect trim and edges. Clean walls thoroughly to remove dust and grease, and apply a primer if necessary.
Applying Paint
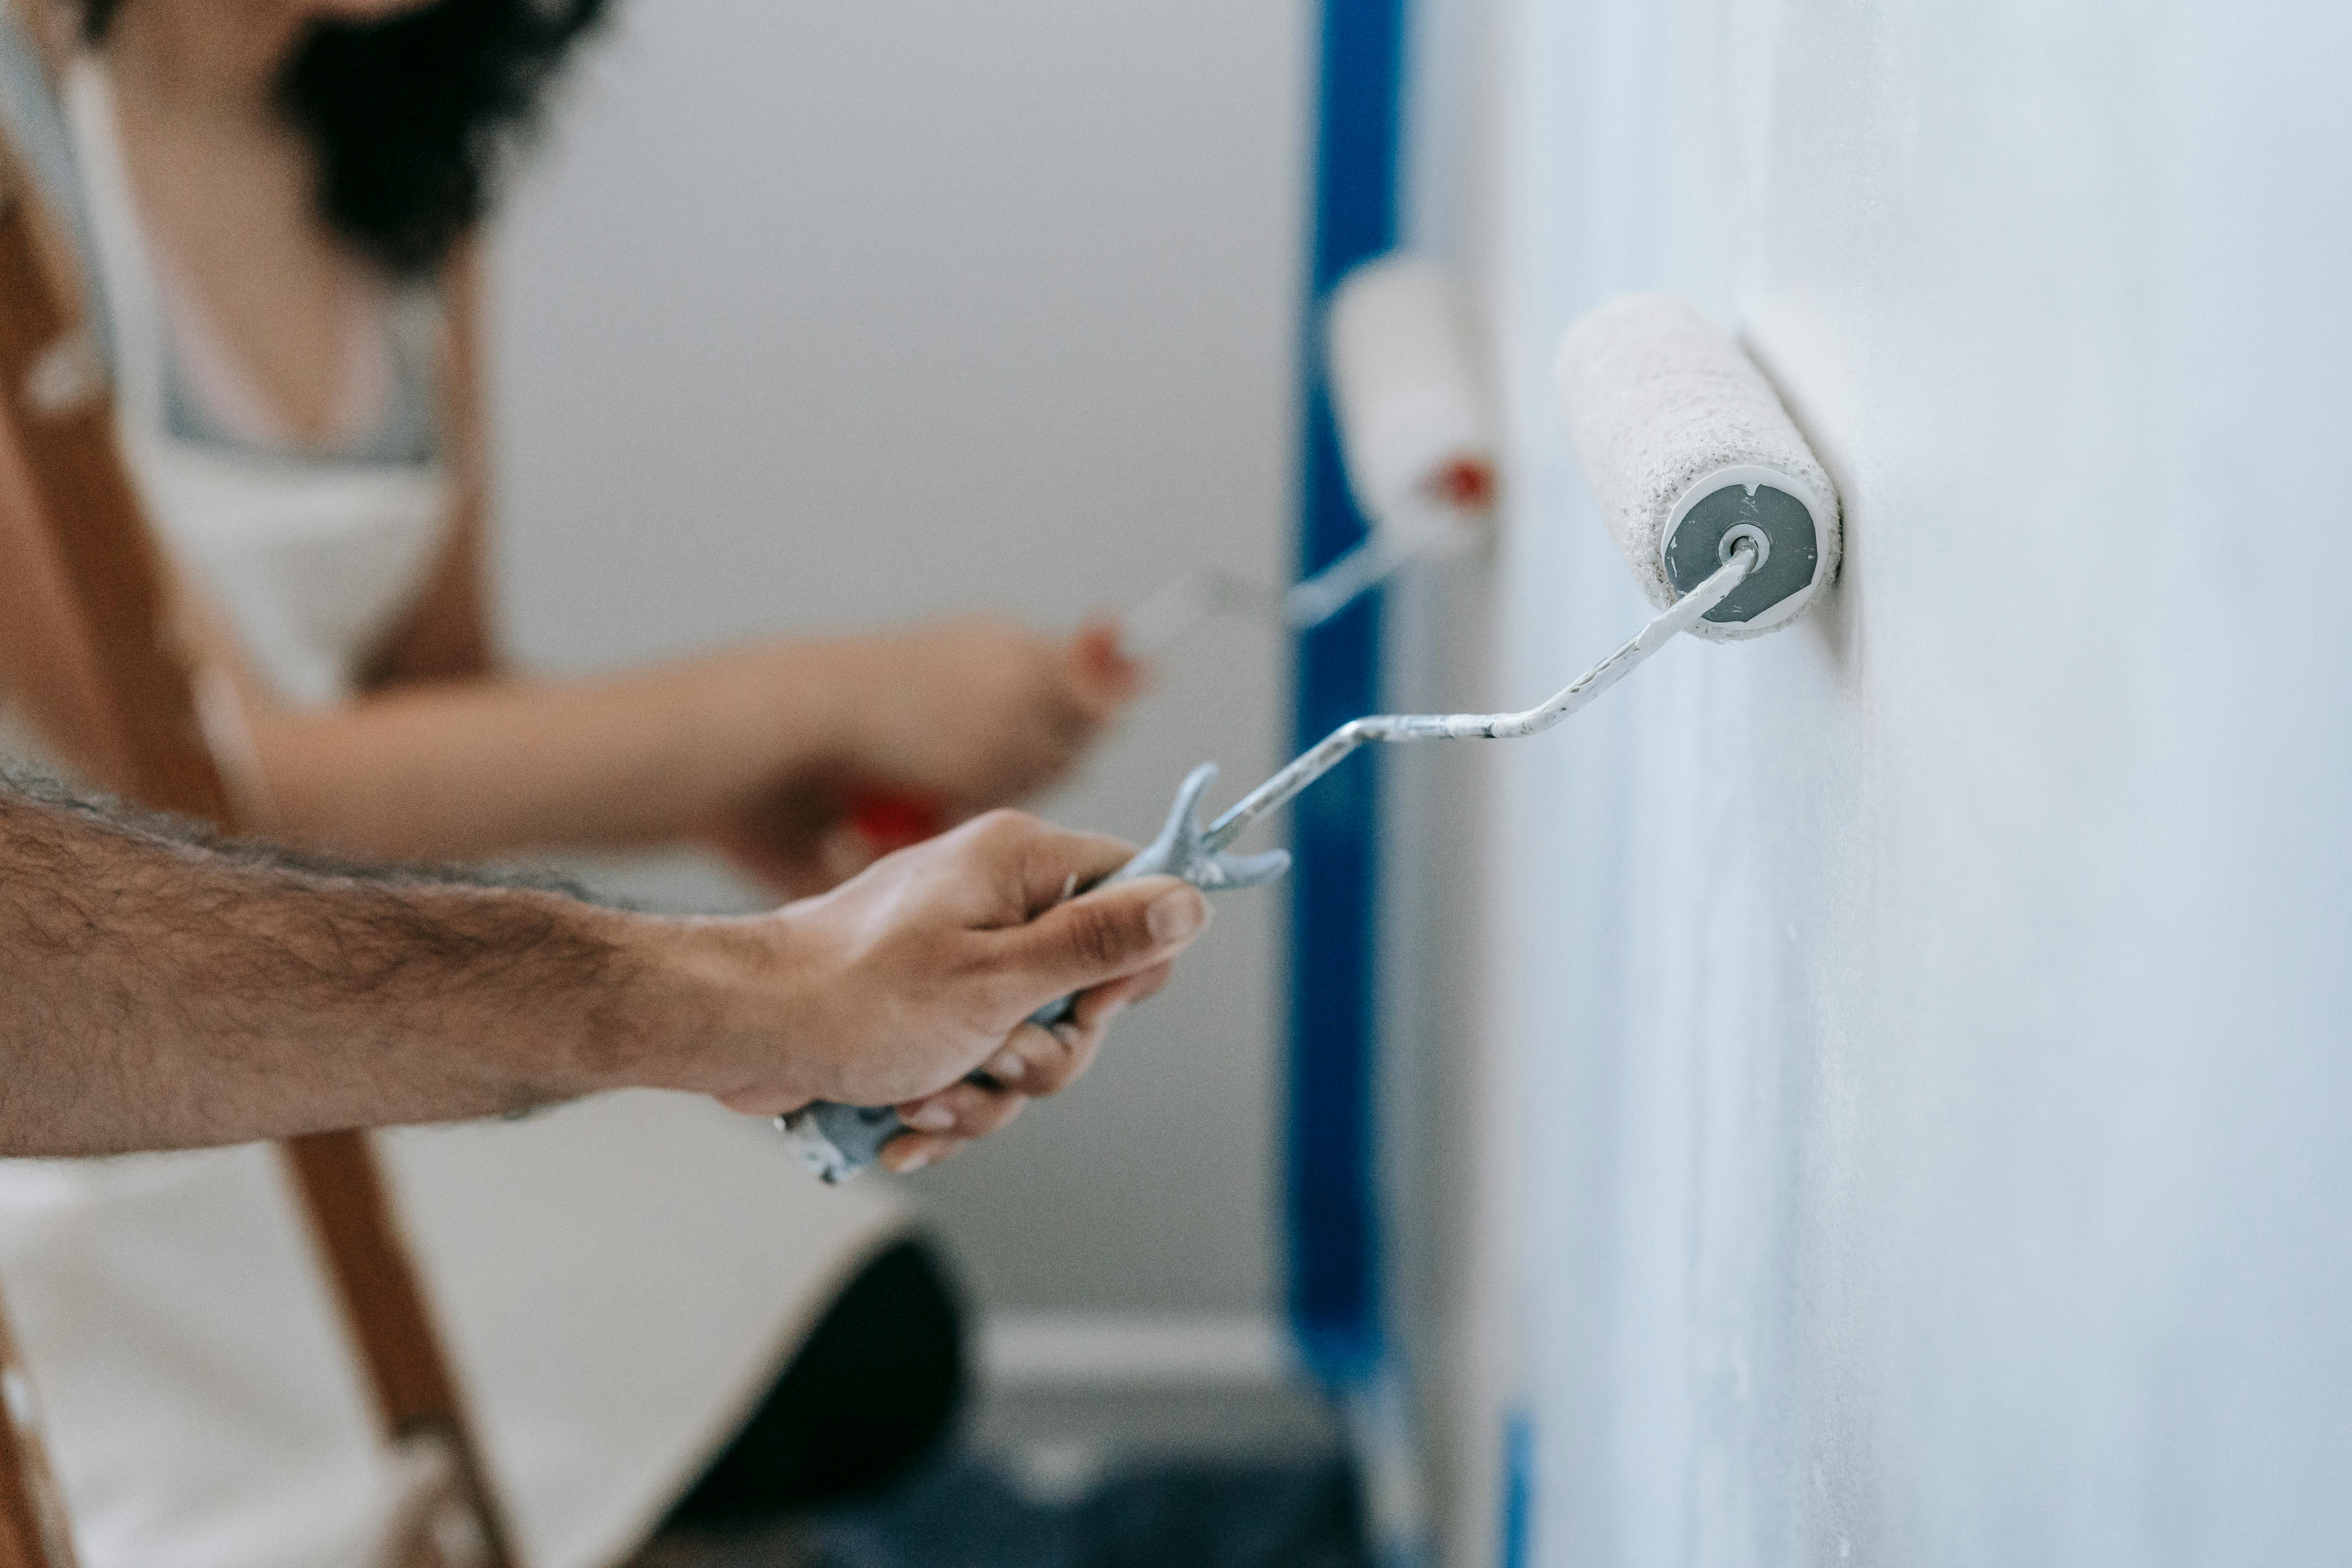
Once your space is prepared, it’s time to paint. Start by cutting in with a brush along edges and corners, then use a roller for larger surfaces. Apply paint in even strokes, and be sure to let each coat dry thoroughly before applying another.
Finishing Touches
After the paint has dried, remove painter’s tape carefully to avoid peeling. Touch up any areas as needed, and replace any furniture or fixtures you moved.
Mastering the Basics of Pressure Washing
Understanding Pressure Washer Settings
Understanding your pressure washer's settings is crucial. For delicate surfaces like wood, use a lower PSI and a wider nozzle. For tougher surfaces like concrete, a higher PSI may be appropriate.
Safe and Effective Techniques
Always start with a low-pressure setting and test on a small area. Keep the nozzle at a consistent distance from the surface to avoid damage. Move the wand steadily and evenly across the area you are cleaning.
Post-Washing Maintenance
After pressure washing, clean your equipment thoroughly. Check for any damage or wear to ensure your tools are ready for the next use.
Common Mistakes and How to Avoid Them
Even with the best intentions, beginners can make mistakes. Here are some common pitfalls and how to avoid them:
- Skipping Surface Preparation: Always clean and prime surfaces before painting.
- Using Incorrect Pressure: Adjust the PSI based on the material to prevent damage.
- Neglecting Safety: Always use safety gear and follow manufacturer instructions.
When to Call the Professionals
While DIY can be rewarding, some projects may require professional expertise. If you're dealing with high areas, intricate surfaces, or significant damage, it might be best to consult Thomas Painting & Pressure Washing for professional help. Our experts can handle complex tasks, ensuring quality results and safety.
Conclusion
Tackling painting and pressure washing projects can be satisfying and cost-effective for homeowners in Murphy, NC. With the right tools, techniques, and a bit of patience, you can achieve professional-looking results. Remember, when in doubt, the professionals at Thomas Painting & Pressure Washing are always here to help.